 NestAffiliate
  NestScale Product Variants
 Macro refers to pre-made responses for some commonly asked questions. By using macro, you can shorten the response time, support more customers in less time, and avoid mistakes.
This article will guide you on how to create macro in NestDesk. Let’s get started now!
How to create Macro
First off, make sure you’ve already logged into NestDesk. If you don’t have a NestDesk account, please create a new one here.
Navigate to Setting > Automation > click on Macro > click on Add macro button
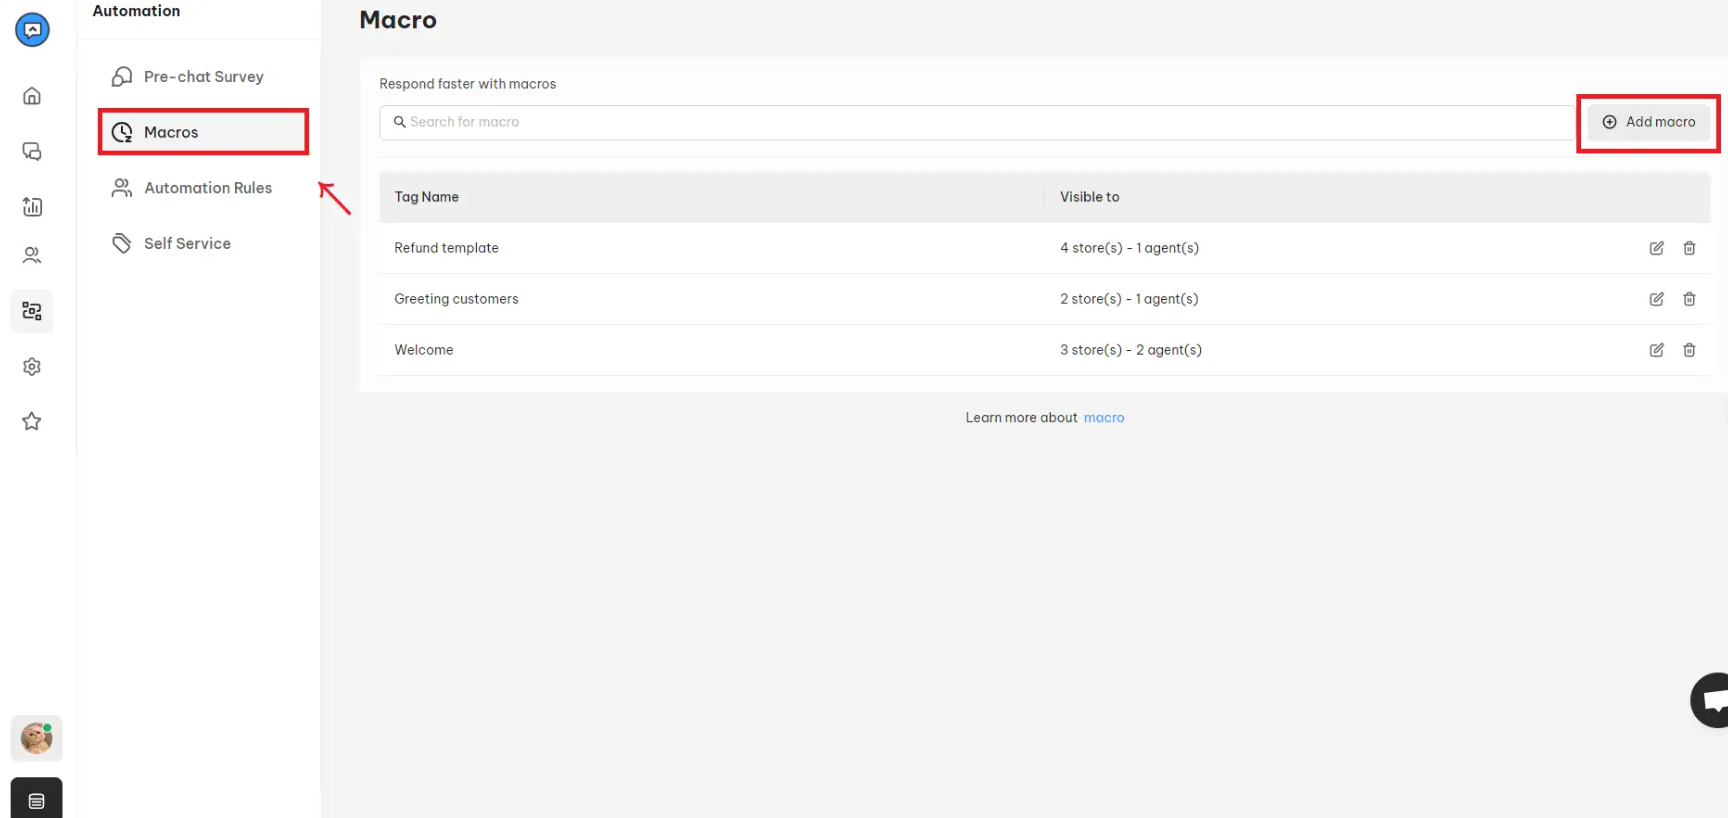
Here you can set the macro name, visible mode, and response text.
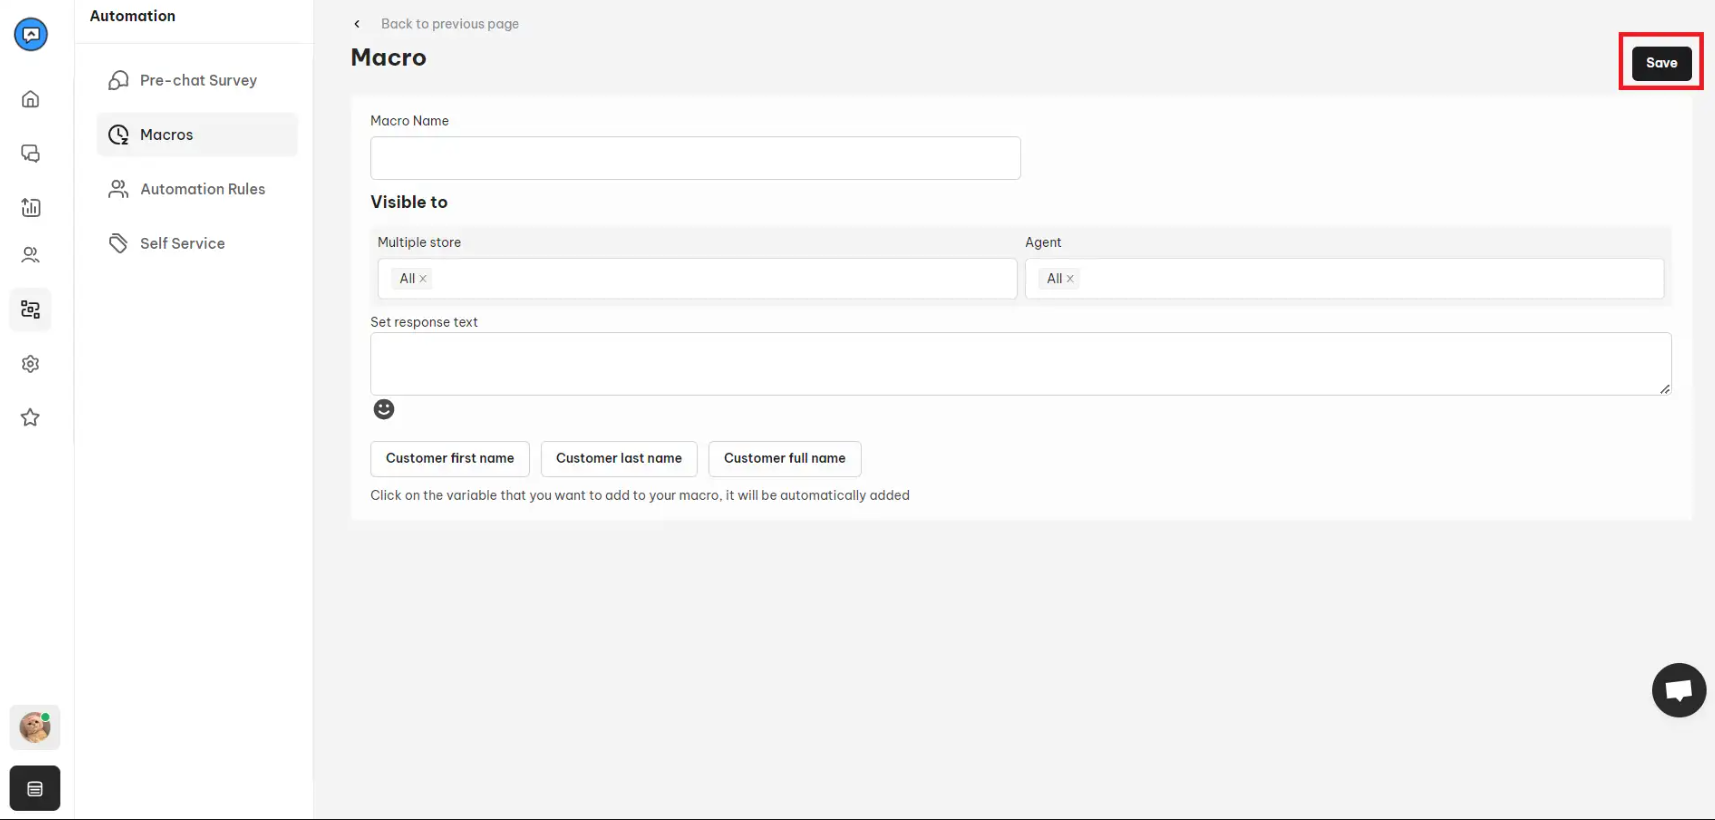
- Macro name: Enter a short and straightforward macro name to distinguish it from others. For example: Refund template, Welcome template, etc
- Visible mode: Select which stores and agents can use this macro
- Response text: Here’s where you paste the content of macro
To make your macro more personalized, you can add variables such as customer first name, customer last name, and customer full name. These variables will automatically display relevant information about the customers with whom you are chatting.
3. Don’t forget to click on Save button to save your progress
How to use Macro
After setting up Macro, you’ll want to know how to use it and see how it works in action. Follow the steps below.
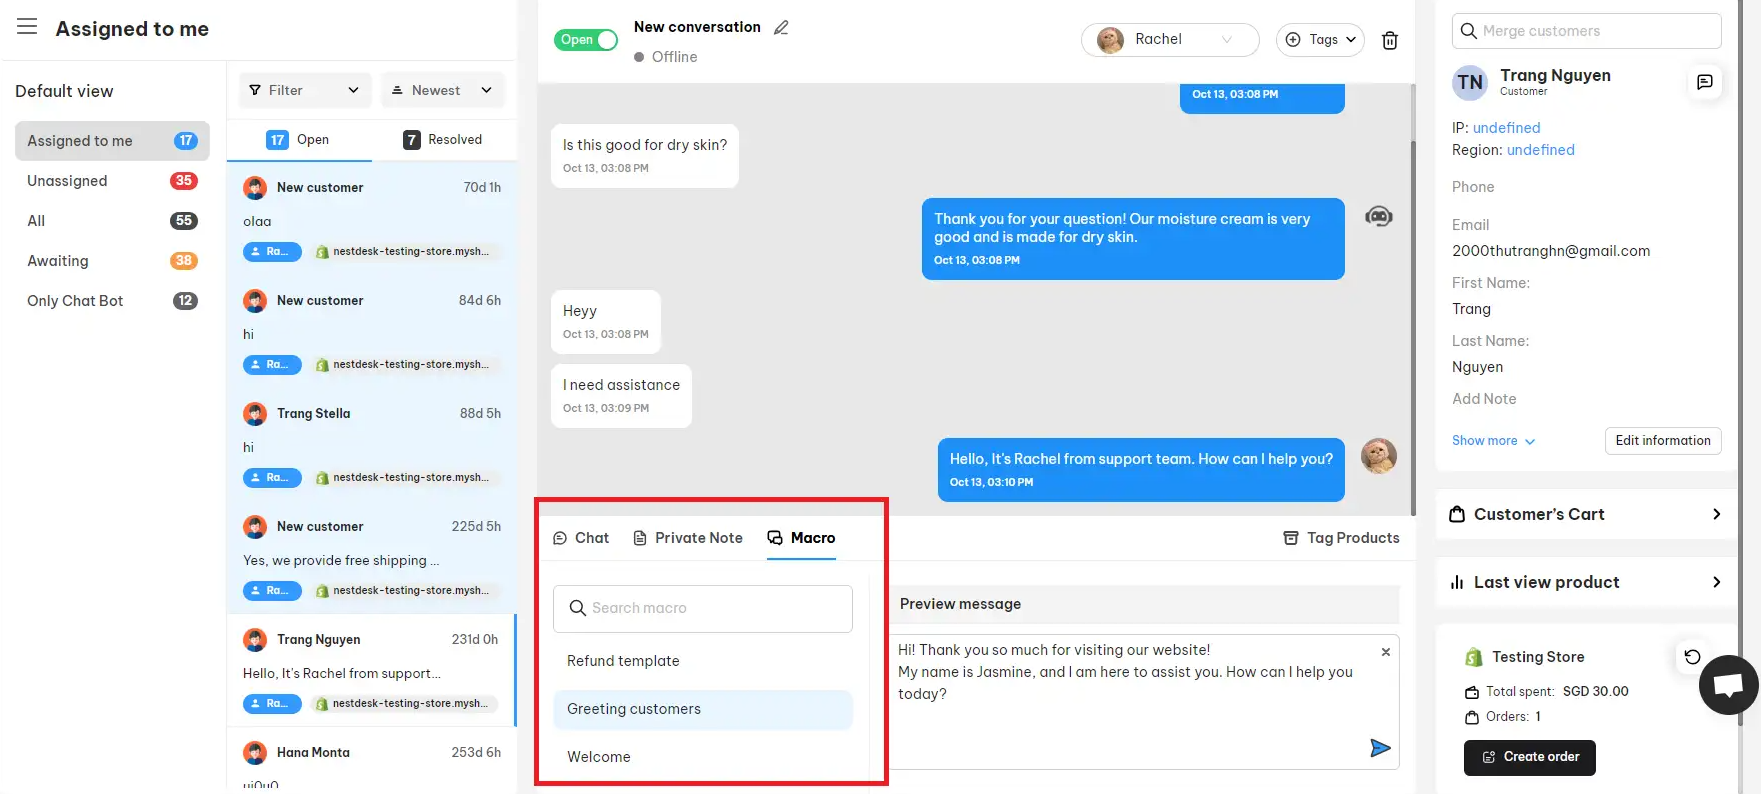
- Navigate to Inbox > click on a chat conversation
- Hit on Macro > select the macro of your choice > click on Send button
>> Read more: How to use macro in NestDesk conversation
Interested in learning more about NestDesk? Book a demo with us!
Need any help?
If you need any assistance with NestDesk, feel free to contact us via live chat in-app or email [email protected].
Our support team is happy to help.