 NestAffiliate
  NestDesk
  NestScale Product Variants
 In this post, you will learn about what email campaign is and how to create & send it in NestSend. Let’s get started now!
Overview
Email campaign is a single email that is sent for a specific marketing purpose. The purpose could be to drive conversions, inform audiences about a new product or service, or simply reach out to individual customers.
NestSend makes it easy to create your own emails from scratch or use prebuilt templates in our email template editor. You can easily upload and add your assets to your campaign, as well as drag and drop our different content blocks to fit your needs.
>>> Read more: What’s the differences between email campaign and automation flow
⚠️ Before you start with a new campaign, please Create a segment of recipients.
How to create & send an email campaign
- Navigate to Campaigns section in the left sidebar
- Click on New Campaign button

Select email template
Now you will see a library of various email templates. You can choose one from pre-made templates or create new email from scratch using Blank template or Plain text email.

Create email content
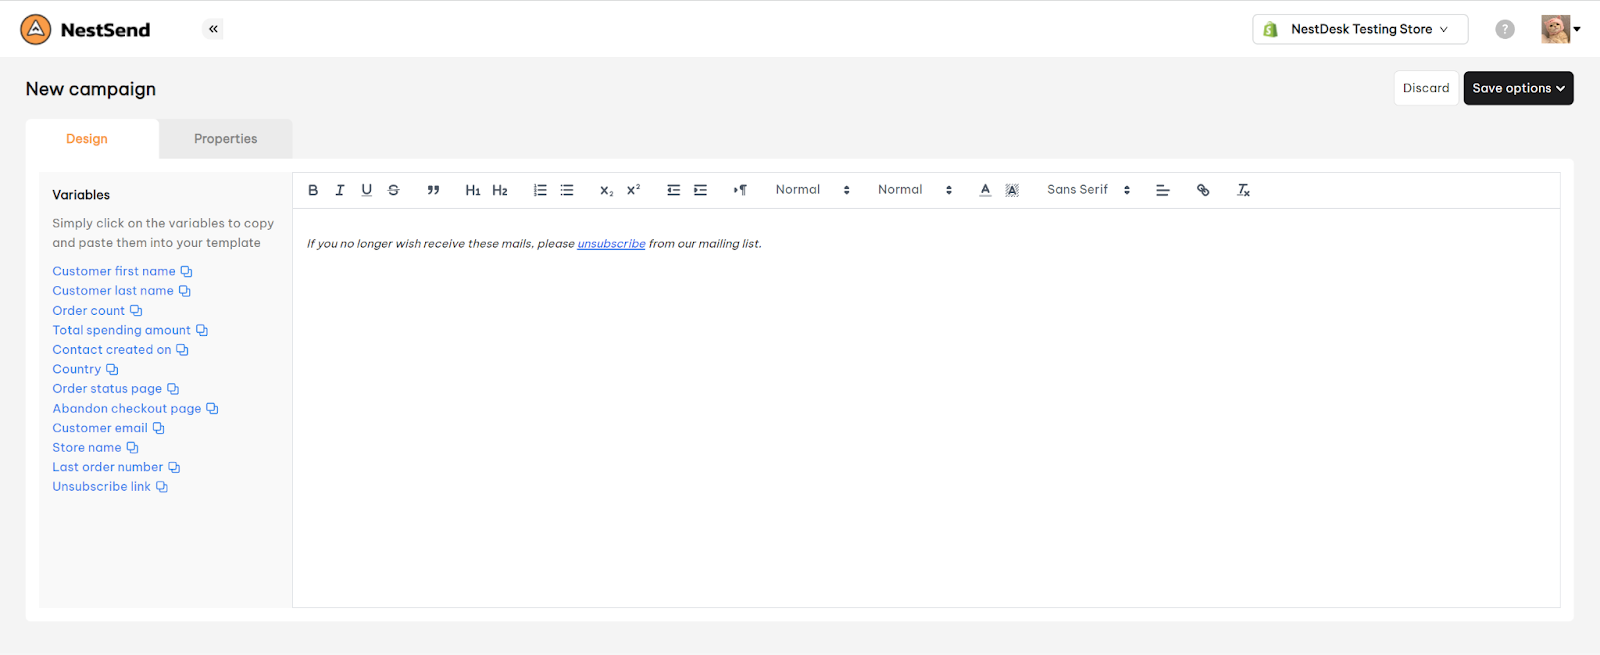
After selecting email type, you will enter the email editor screen with 2 tabs: Design and Properties.
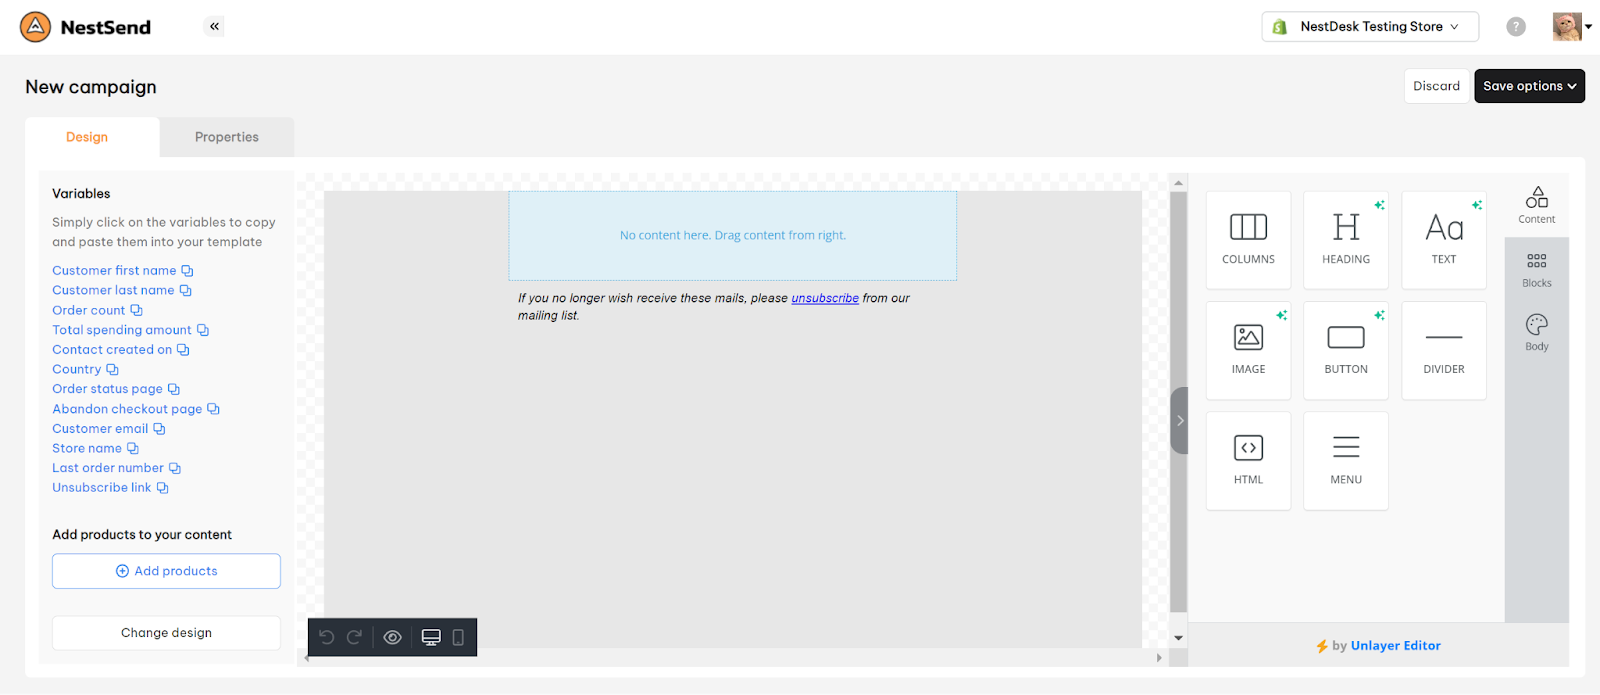
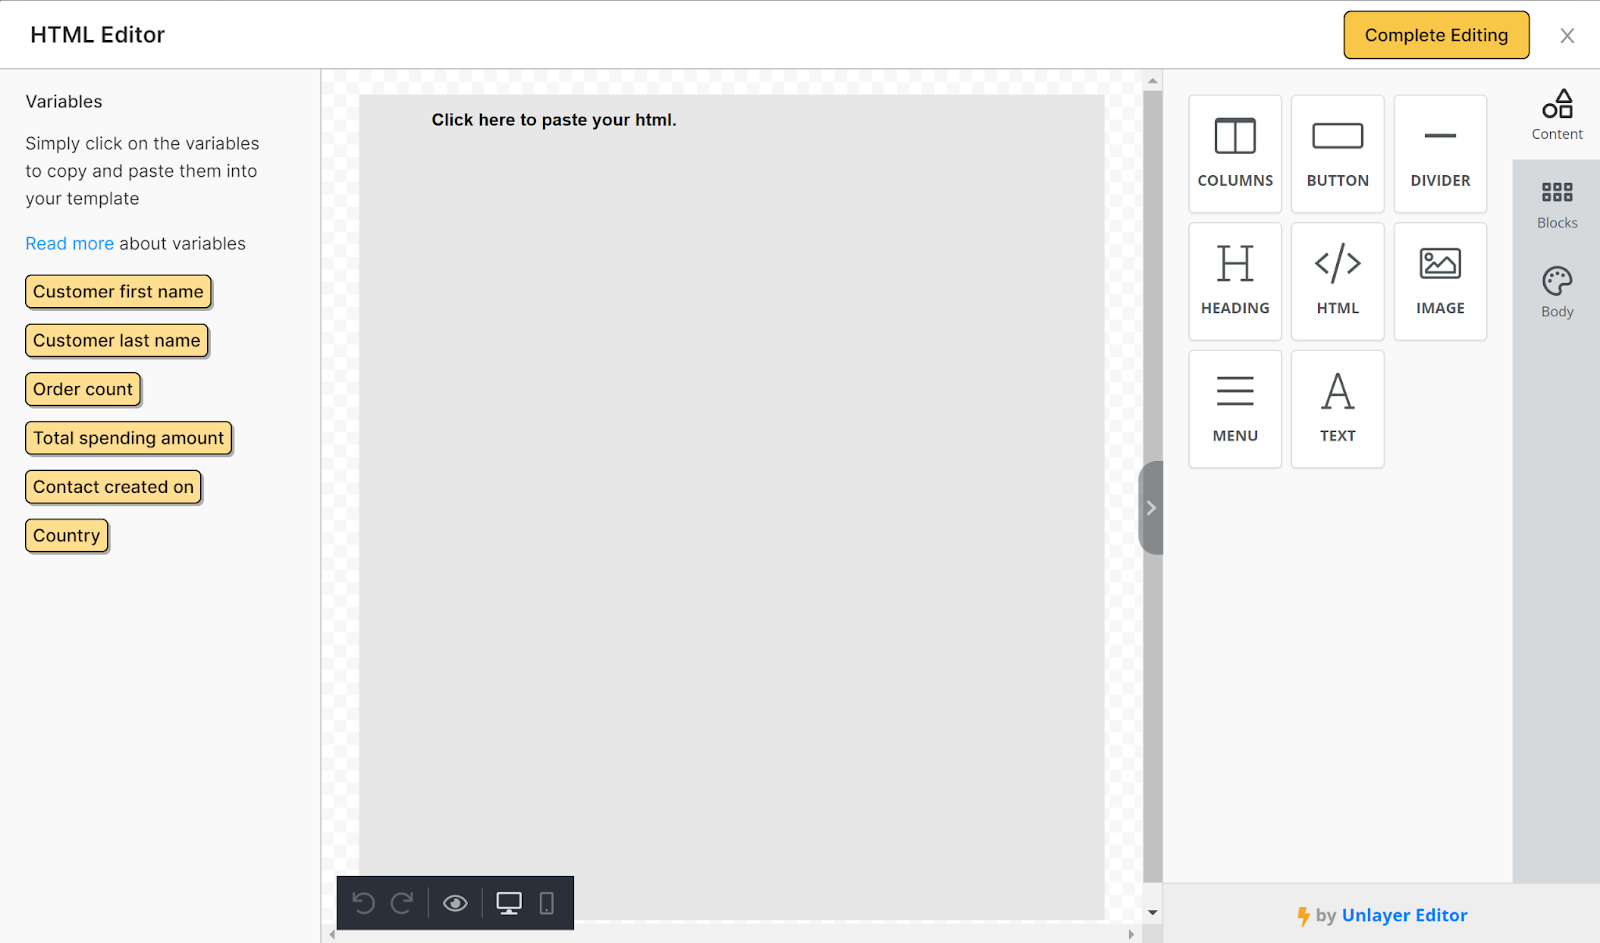
In Design tab, you can fill in content and customize email design as you wish.
NestSend provides you with some variables making your email personalized to each recipient. Plus, you can add product information into email content as well.
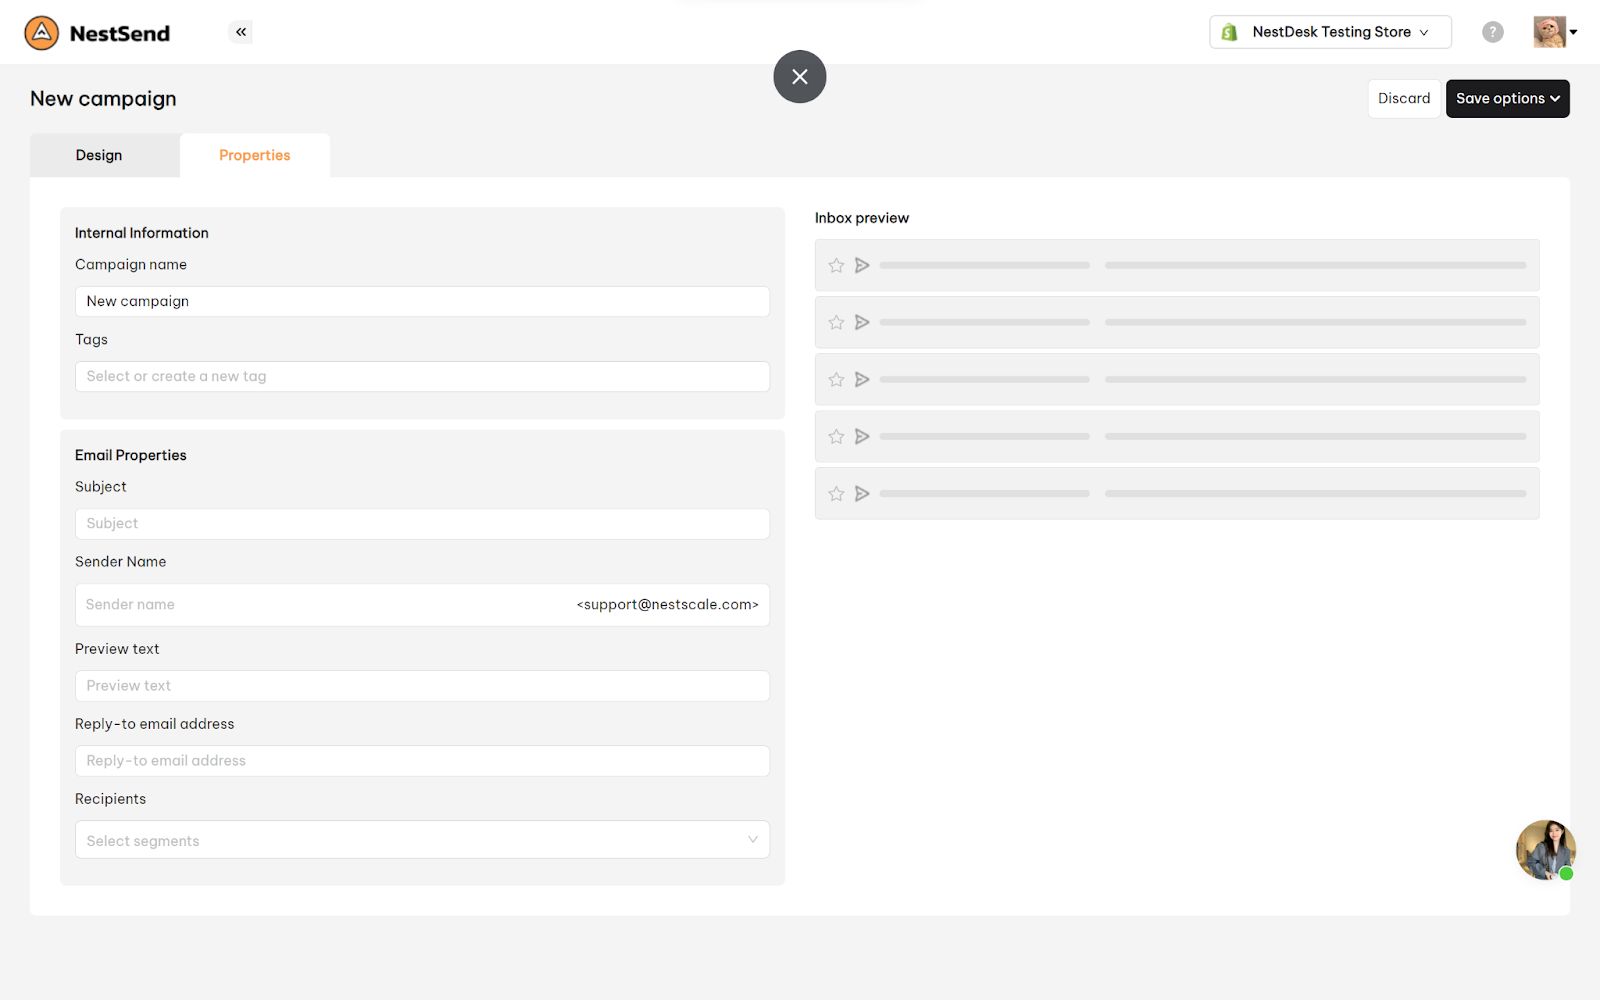
In Properties tab, you fill in following information:
Internal Information
- Campaign name: This name is internal and only visible to you
- Tags: Enter tag to easily categorize your email campaigns
Email Properties
- Subject: An email subject line is the first text recipients see after your sender name when an email reaches their inbox.
- Sender name: Sender name (also known as from name) is the name displayed in your recipients’ inboxes.
- Preview text: Email preview text is the one line of text recipients can see before opening an email
- Reply-to Email Address: Select the email address to receive the customer’s reply.
- Recipients: Select a segment of contacts that will receive your email
Send/Schedule email campaign
After completing your email content, click on Save options button > select Send/Schedule.
There will appear a pop up for you to double-check the campaign setup. You can change other design types, customize it, or edit the email content.
You can also Send a test email by entering the email address to receive the test email.
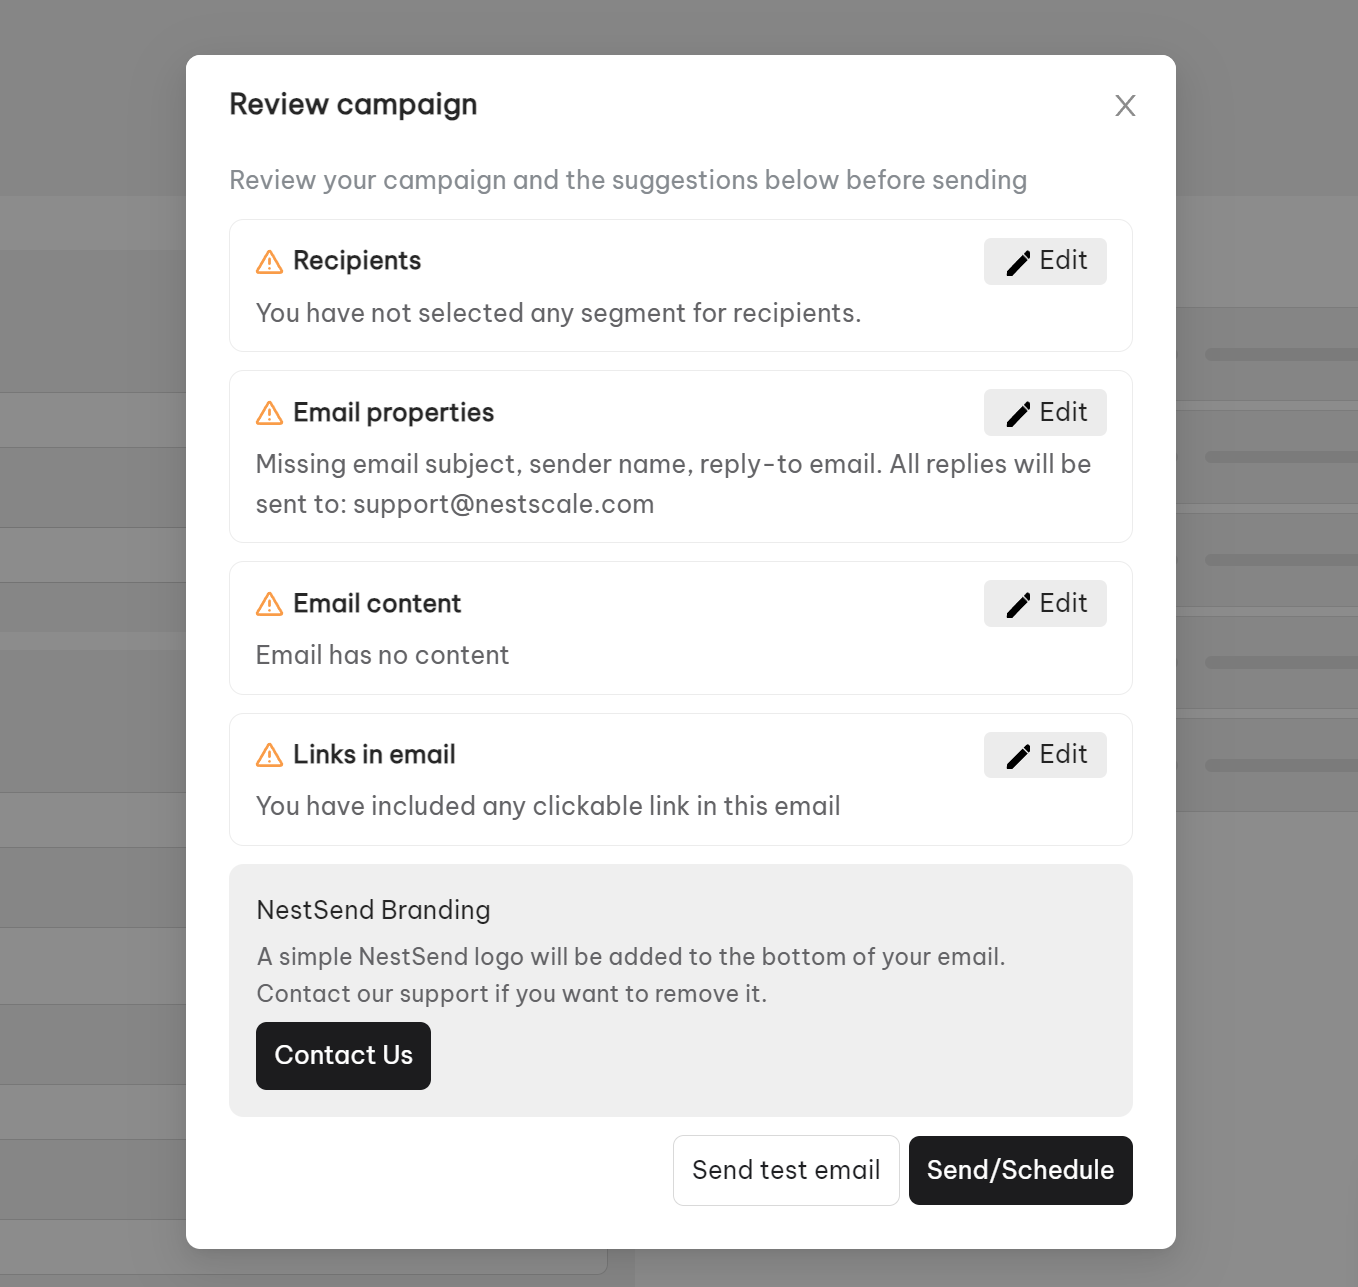
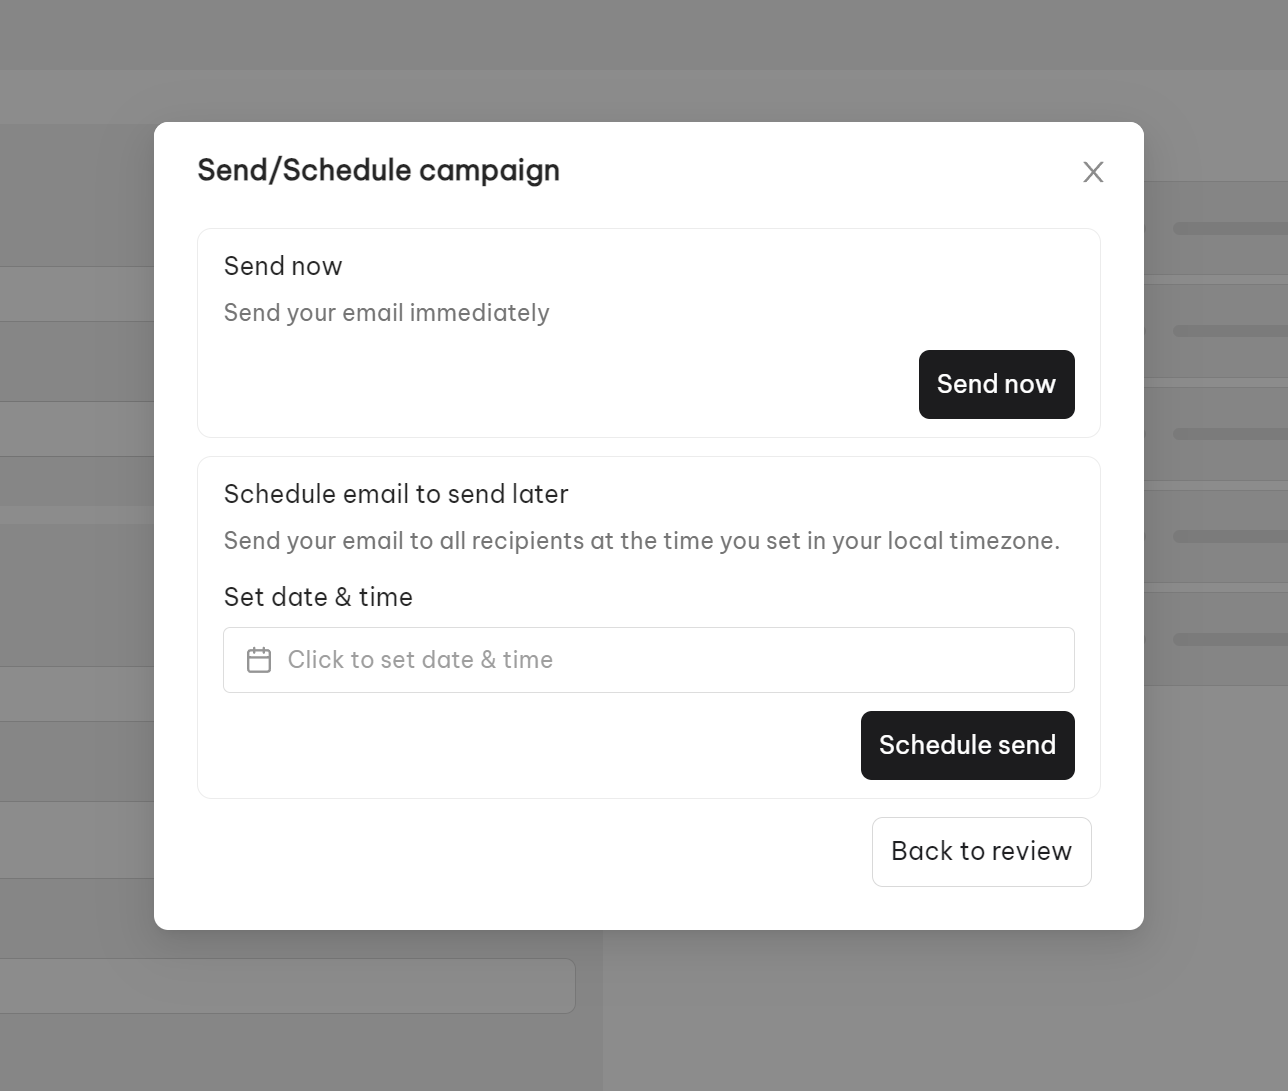
When you completed all the checkpoints, and are ready to send out your email, click Send/ Schedule.
- Send Now: Send right after going live.
- Schedule: You can set the time for the email to be sent out. Scheduled time will be based on your local time zone.
It’s done! That’s the process of creating an email campaign in NestSend.
Need any help?
Feel free to contact us via live chat inside the app or send an email to [email protected]. Our support team is happy to help!