 NestAffiliate
  NestDesk
  NestScale Product Variants
 The Sign-up Form Library is designed to simplify the process by offering a collection of attractive pre-made form templates.
This user guide will walk you through the process of using the Sign-up Form Library in NestSend to quickly select and customize the perfect form for your needs. Let’s get started!
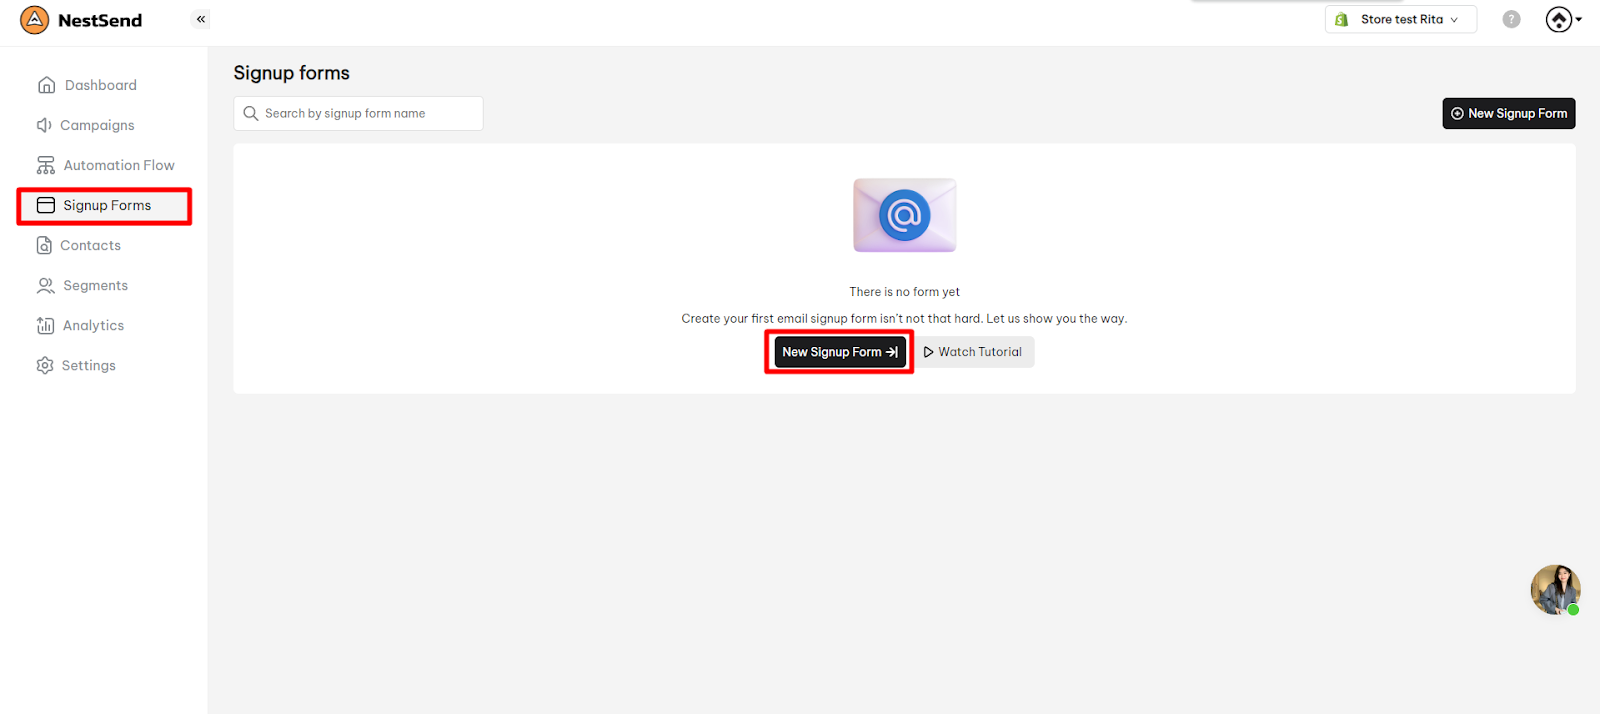
Create a New Sign-up Form
- Login to your NestSend account.
- Navigate to Sign-up Forms in the dashboard.
- Click on New Sign-up Form to start creating a new form.
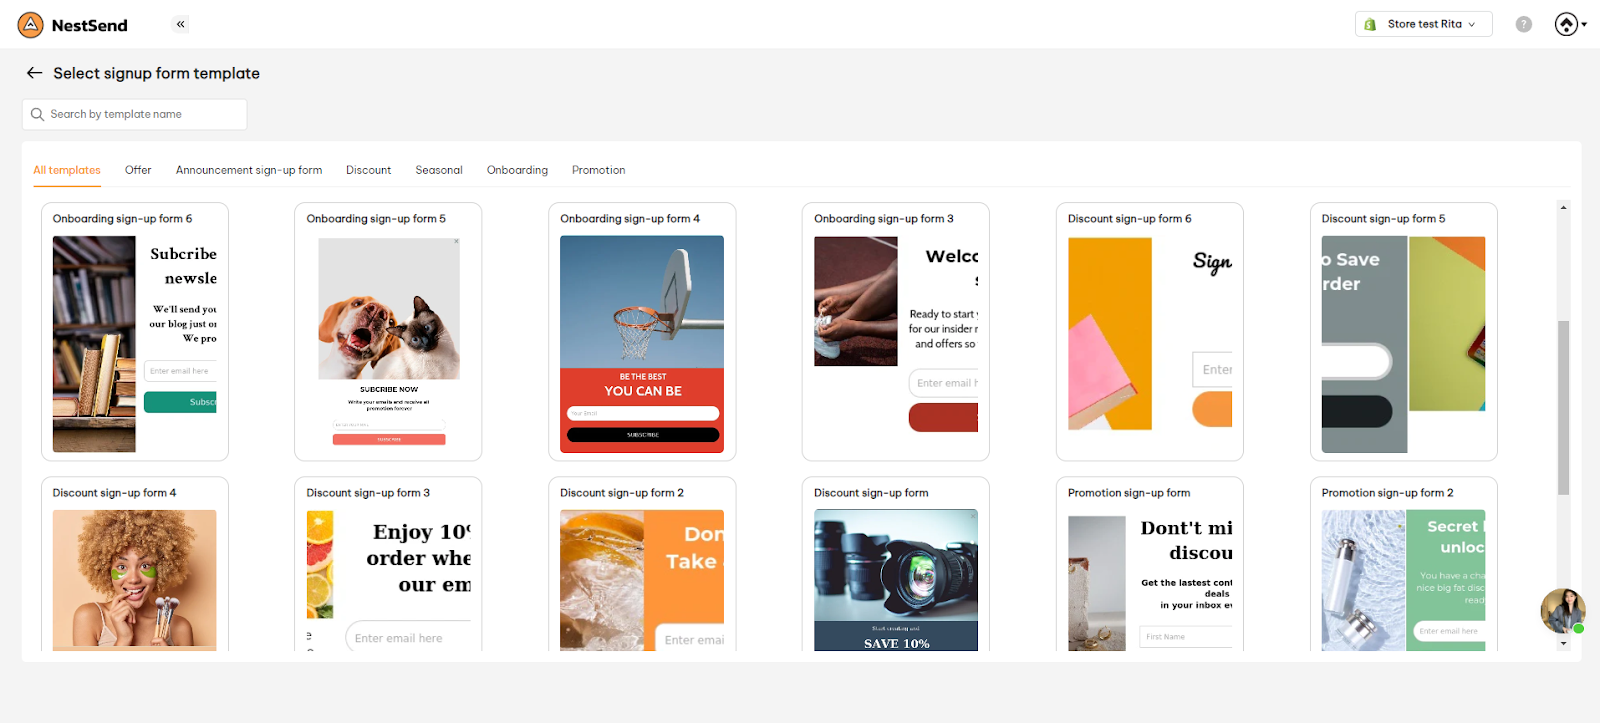
Choose a Sign-up Form Template
- Browse through our collection of 20+ pre-designed sign-up form templates, organized into various categories.
- Choose a template that best suits your needs and click on it to select, then click Continue Editing
Edit the Design of the Form
- After selecting the template, you can now customize the form to match your brand and preferences.
- Change Content: Edit the text, headings, and any other content elements to convey your message effectively.
- Change Layout Format: Rearrange and customize the layout of the form to fit your desired style.
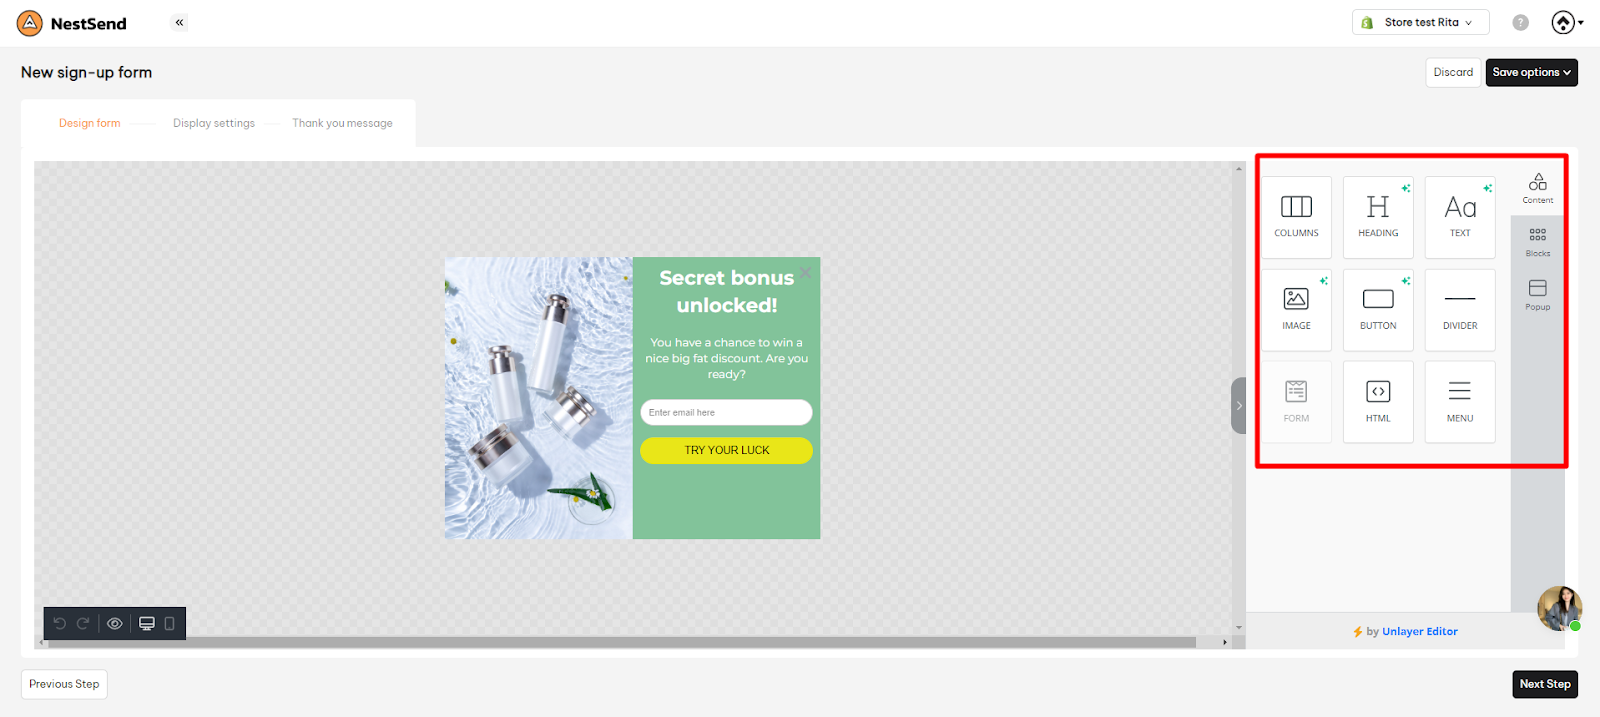
💡 Need any help in designing your sign-up form? Please contact us via live chat.
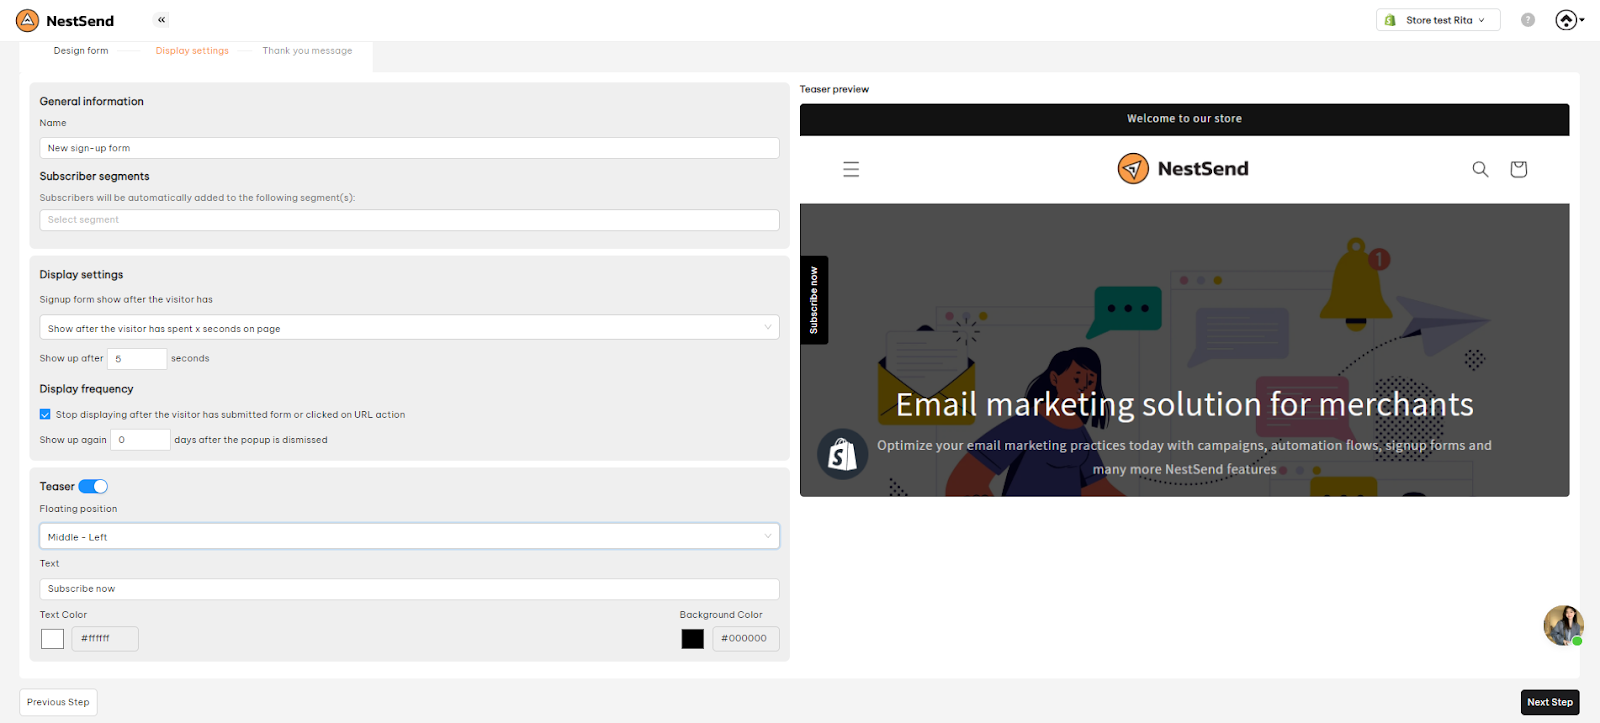
Display Configuration
The display configuration allows you to set various options related to how the sign-up form appears to your website visitors.
- General Information: Here’s where you name your Sign-Up Form and description for internal tracking and reporting purposes. The form name will not be visible to visitors
- Subscriber Segments: Choose the specific segments of your subscriber list to target with this form.
- Display Settings: Decide how the form should trigger on your website (after customer has been on the site for a while)
- Display Frequency: Set rules to control how often the form should appear to the same visitor.
- Teaser: Customize a sticky widget that encourages visitors to sign up.
- Preview: Preview the form to ensure it looks exactly as you desire.
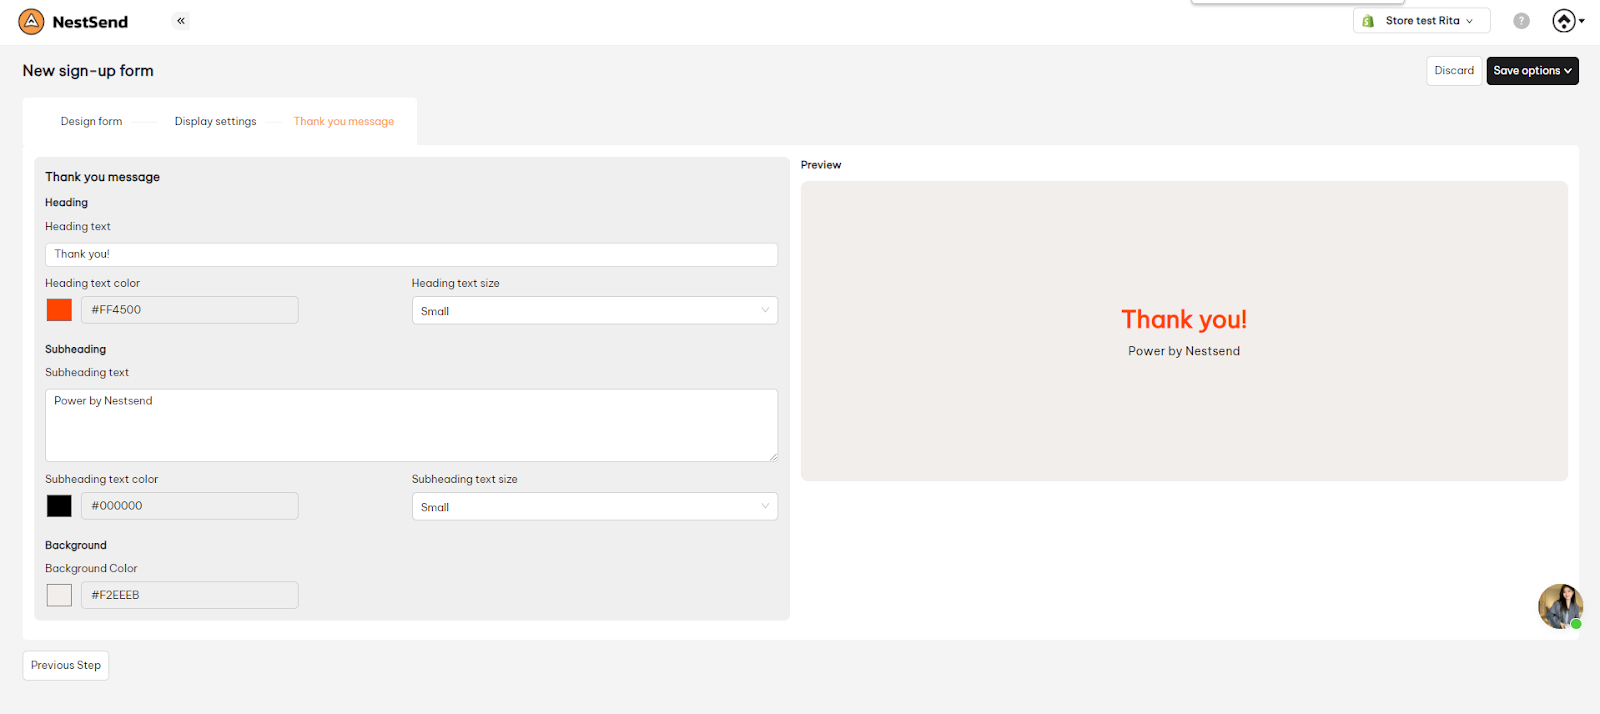
Thank You Message Settings
After a visitor successfully subscribes through your form, you can show them a “Thank You” message. Customize this message to express your gratitude or provide additional information. You can edit content or change the text size, color that matchs with your store theme.
Activate Form or Save Draft
Once you’ve completed editing and configuring the form, you have two options:
- Activate Form: Make the form live and active on your website so visitors can start signing up.
- Save Draft: Save the form as a draft if you’re not ready to go live yet. You can always activate it later.
Congratulations! You have successfully created and customized your sign-up form using the NestSend app. Your form is now ready to collect leads and grow your subscriber list. If you ever need to make changes, revisit the “Sign-up Forms” section in the dashboard and select the form to edit.
Need any help?
We hope this guide helps you make the most of the Sign-up Form Email Template in NestSend. If you have any further questions or need assistance, don’t hesitate to reach out to our support team via [email protected]
Happy marketing!