 NestAffiliate
  NestDesk
  NestScale Product Variants
 NestSend enables you to create a new contact profile which includes some default fields such as name, phone number, email, etc
When you add a new contact to your NestSend account, it is automatically synced to the Customer section of your Shopify account.
📌 Note: Before creating a new contact, make sure that you’ve connected your Shopify store to NestSend. If you haven’t, please check out the guideline here.
How to create a new contact in NestSend
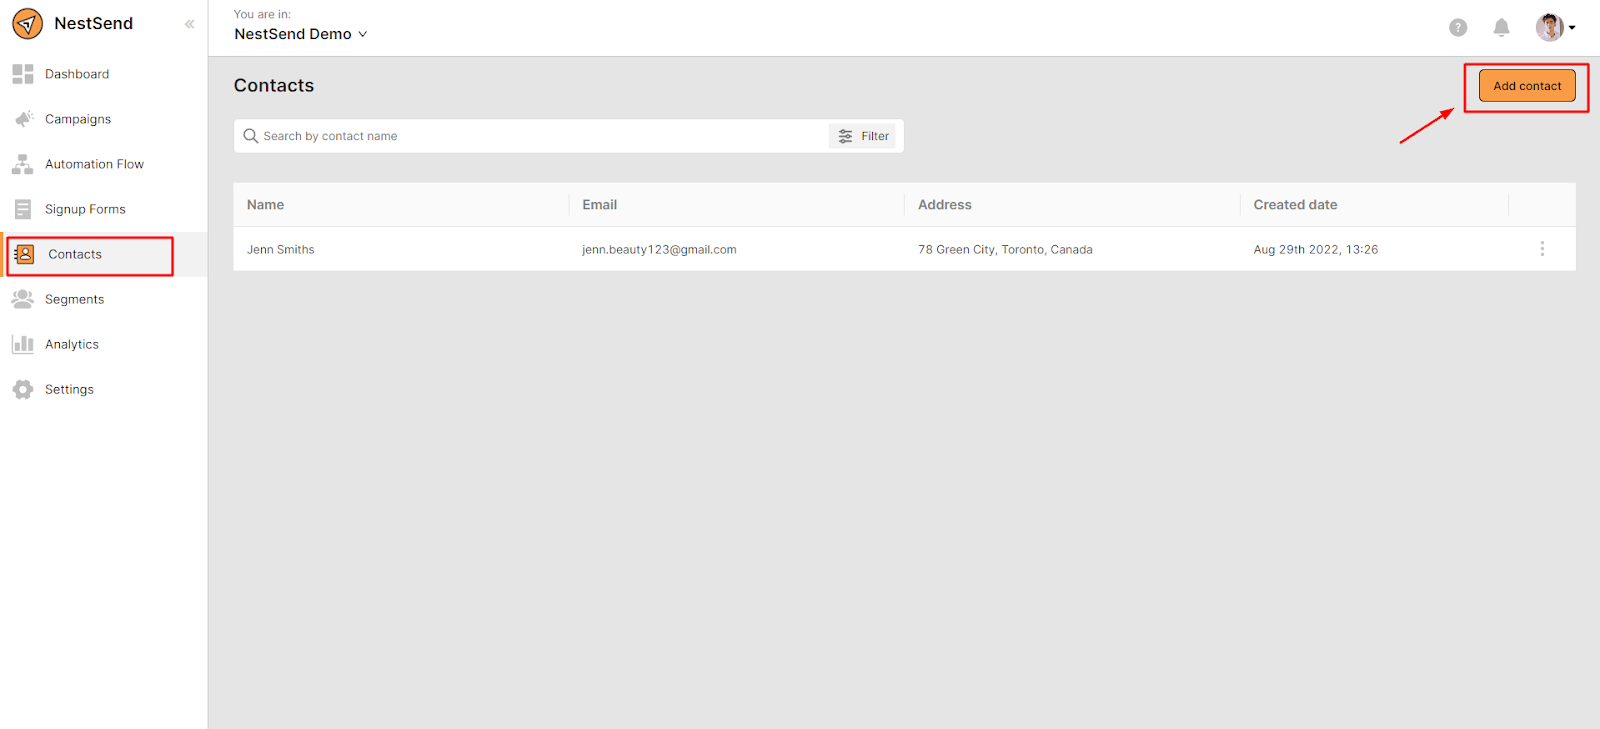
- Navigate Contacts > click on Add contact button
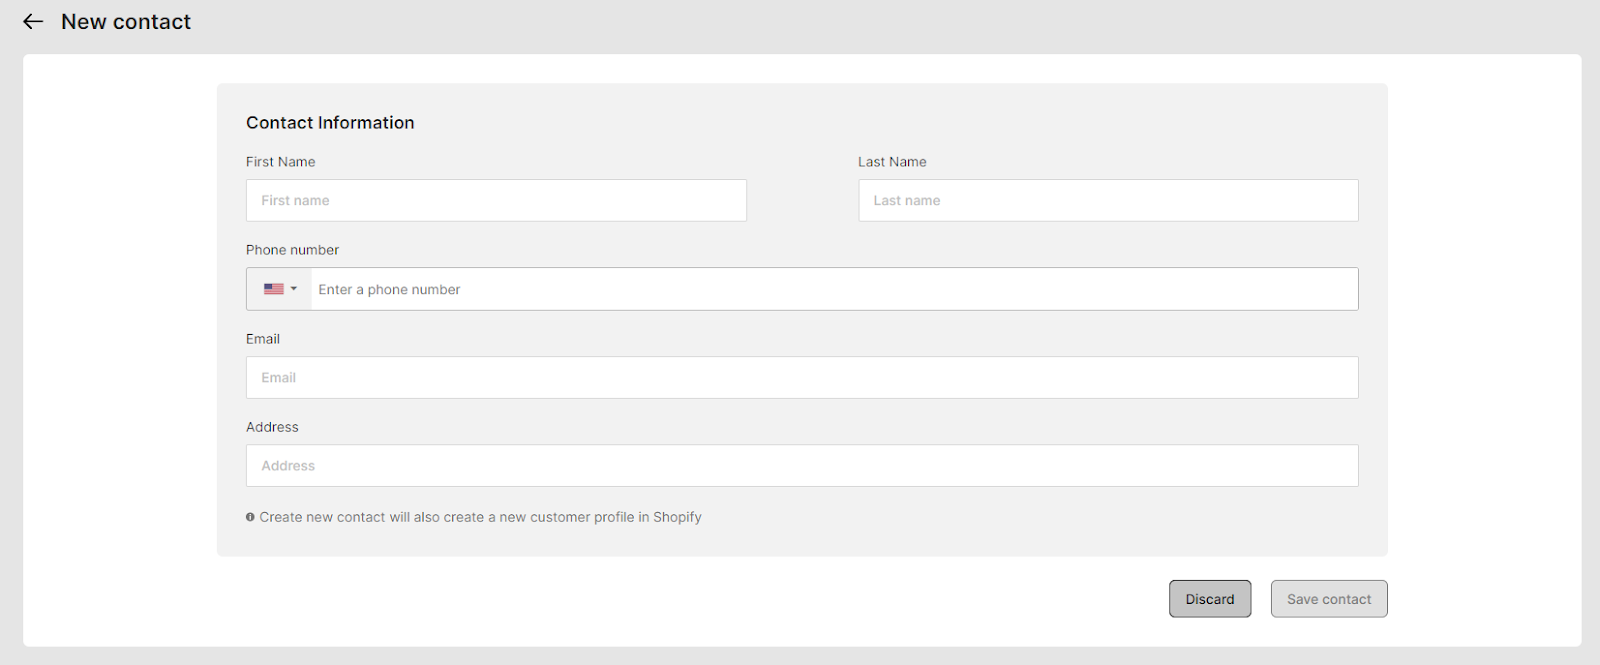
- Now you fill out the Contact information and click on Save contact button
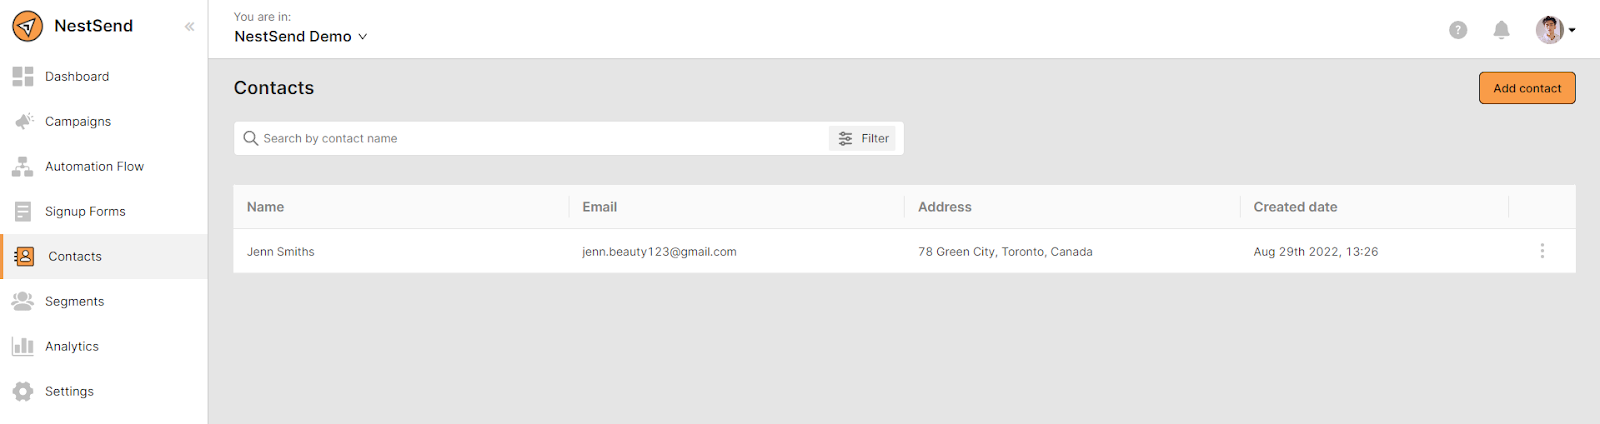
Here’s how your newly added contact display in NestSend.
Need more help?
Feel free to contact us via live or email at [email protected]