 NestAffiliate
  NestDesk
  NestScale Product Variants
 In this post, you will learn how to connect one and multiple Shopify stores with NestAds app. Let’s dive in!
How to connect Shopify store with NestAds from scratch (Shopify Integration)
- Register your NestScale account here
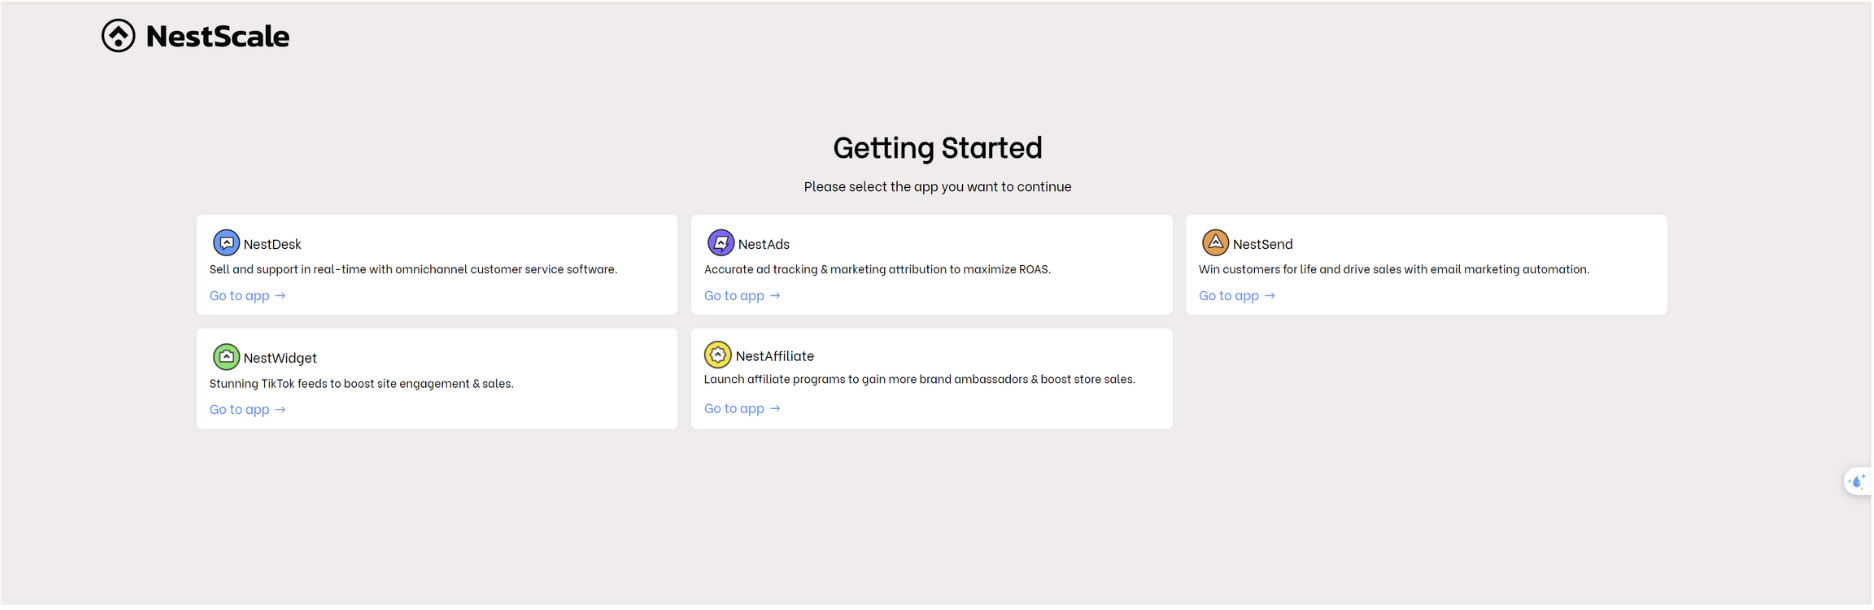
- Next, you will be redirected to App selection page. Now you click on NestAds app to continue.
- In the 1st step of onboarding process, you enter your Shopify store URL to connect with NestAds app
*Note: Enter the right domain format: xxx.myshopify.com (xxx is your store name)
- Finish the rest steps in onboarding process
(Connect your TikTok for business account and link TikTok ads account with website)
>>> Read more: How to add TikTok Ads Integration in NestAds app
How to connect multiple Shopify stores with NestAds (Shopify Integration)
If you have multiple Shopify stores, you can connect and manage them under a NestAds account.
Follow steps below to connect more Shopify stores with your current NestAds account.
- Log in NestAds account
- Go to Settings > Integrations
- Click on View more in Shopify section
- Click on Add Integration button > Enter your Shopify store link > click Connect button
*Note: Enter the right domain format: xxx.myshopify.com (xxx is your store name)
- The app will direct you to the Shopify app listing, click on Add app button
- Give app access and authorization
It’s done! Your Shopify store is connected to current NestAds account successfully. You can link that Shopify store with a specific TikTok ad account to access app features.
You can switch between multiple Shopify stores in a NestAds account. Also, the app will update your data accordingly.
Need any help?
If you need any help, feel free to contact us via live chat in app or email at [email protected]