 NestAffiliate
  NestDesk
  NestScale Product Variants
 NestAds’ user management feature enables you to add team members and assign permissions for improved monitoring and control of your account. Based on assigned roles, non-admin users can access specific application features relevant to their tasks.
It is ideal for agencies managing multiple stores or businesses with large teams by:
- Controlled access by giving each person access to only certain features
- Improve workflow with multiple users on the same account
- Limit permissions to protect sensitive data and monitor activity
In this guide, we’ll walk you through how to add, edit, and remove users from your account. Let’s get started!
How to add users to your account?
First off, make sure you’ve logged into your NestAds account. If you do not have an account, please register here.
- From the left-sidebar, navigate to Settings > choose User management > click on (+) Add user on the top right.
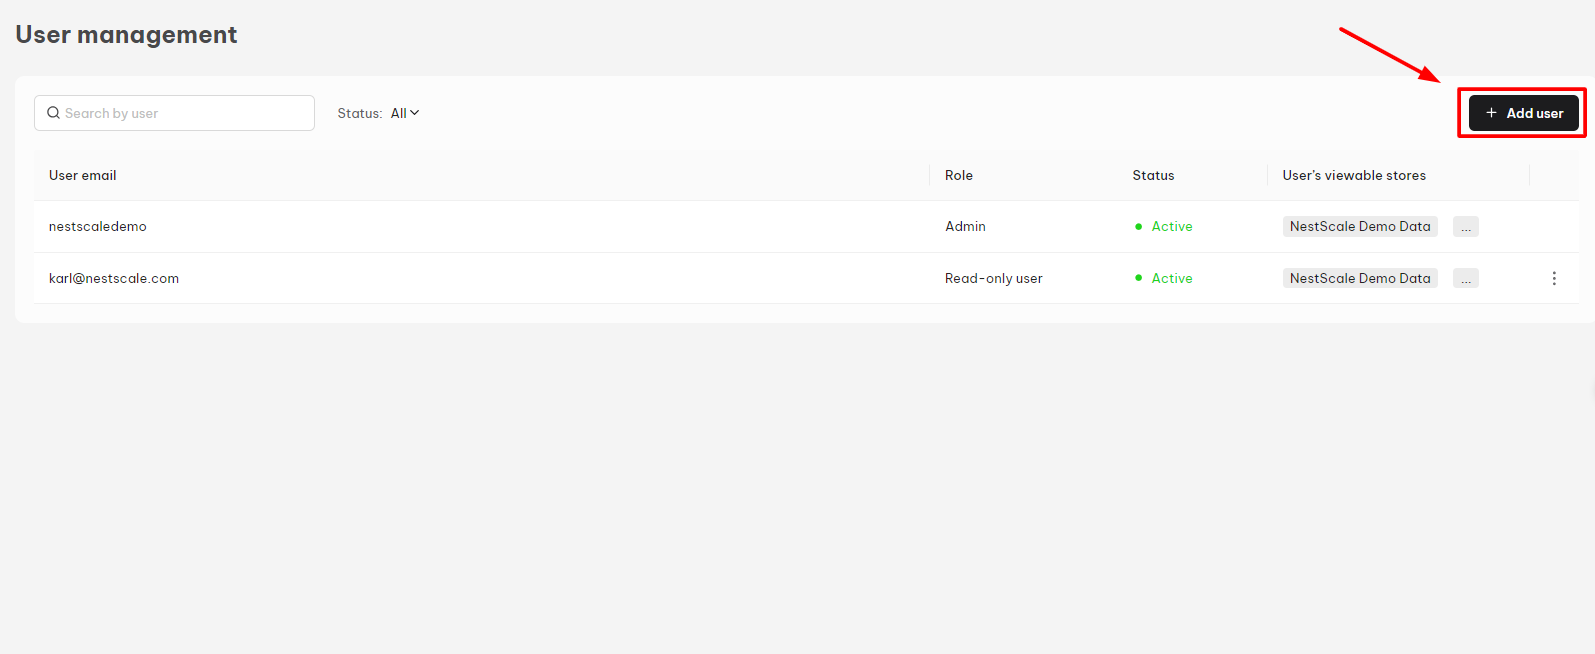
Note: The Admin role is displayed by default and cannot be edited. Please contact the Support Agent if you want to edit the Admin role or Admin’s email.
- Enter your user’s information below
- User email:
- User’s viewable store: choose stores this user is allowed to view metrics:
- Role: Choose the role following their permissions by rule.
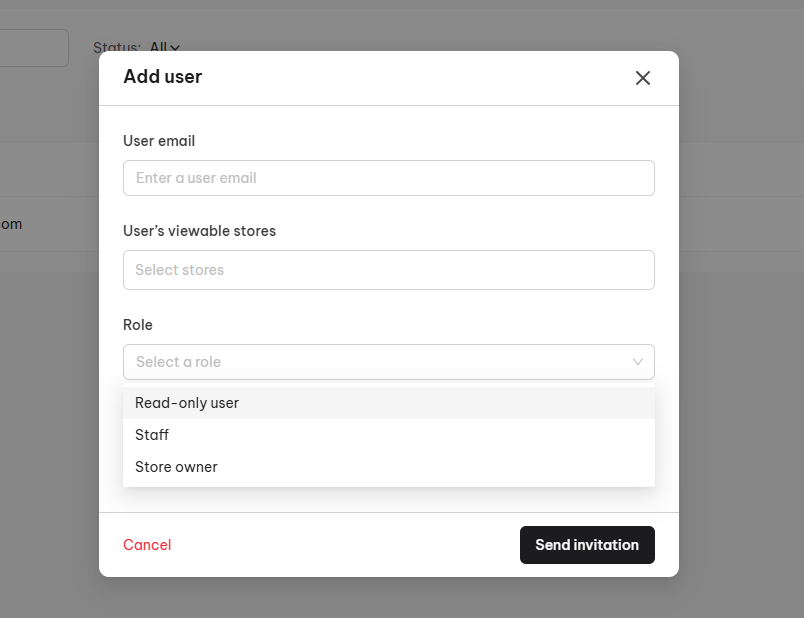
| Read-only user | Staff | Store owner |
| 1. View Dashboard 2. View performance report 3. View customer journey 4. View business intelligence 5. View and edit profile 6. Change password | 1. View Dashboard 2. View performance report 3. View customer journey 4. View and edit tracking settings 5. View business intelligence 6. View and edit profile 7. Change password | 1. Manage Plan & BillingView 2. Dashboard 3. View performance report. 4. View conversions path 5. View cohort analysis 6. View and edit profile 7. Change password |
Note: This default role cannot be changed in this current version
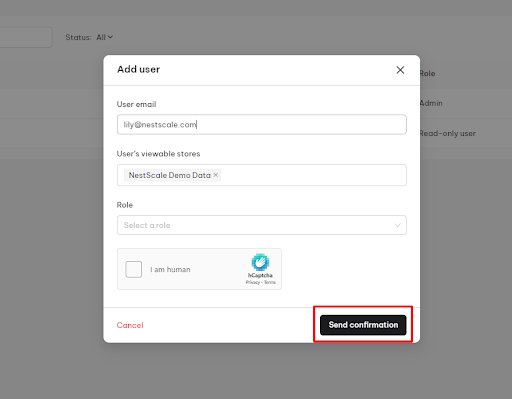
- Tick on the Captcha and hit on Send Confirmation to complete the process
A notify pop-up window will appear in the bottom right corner.
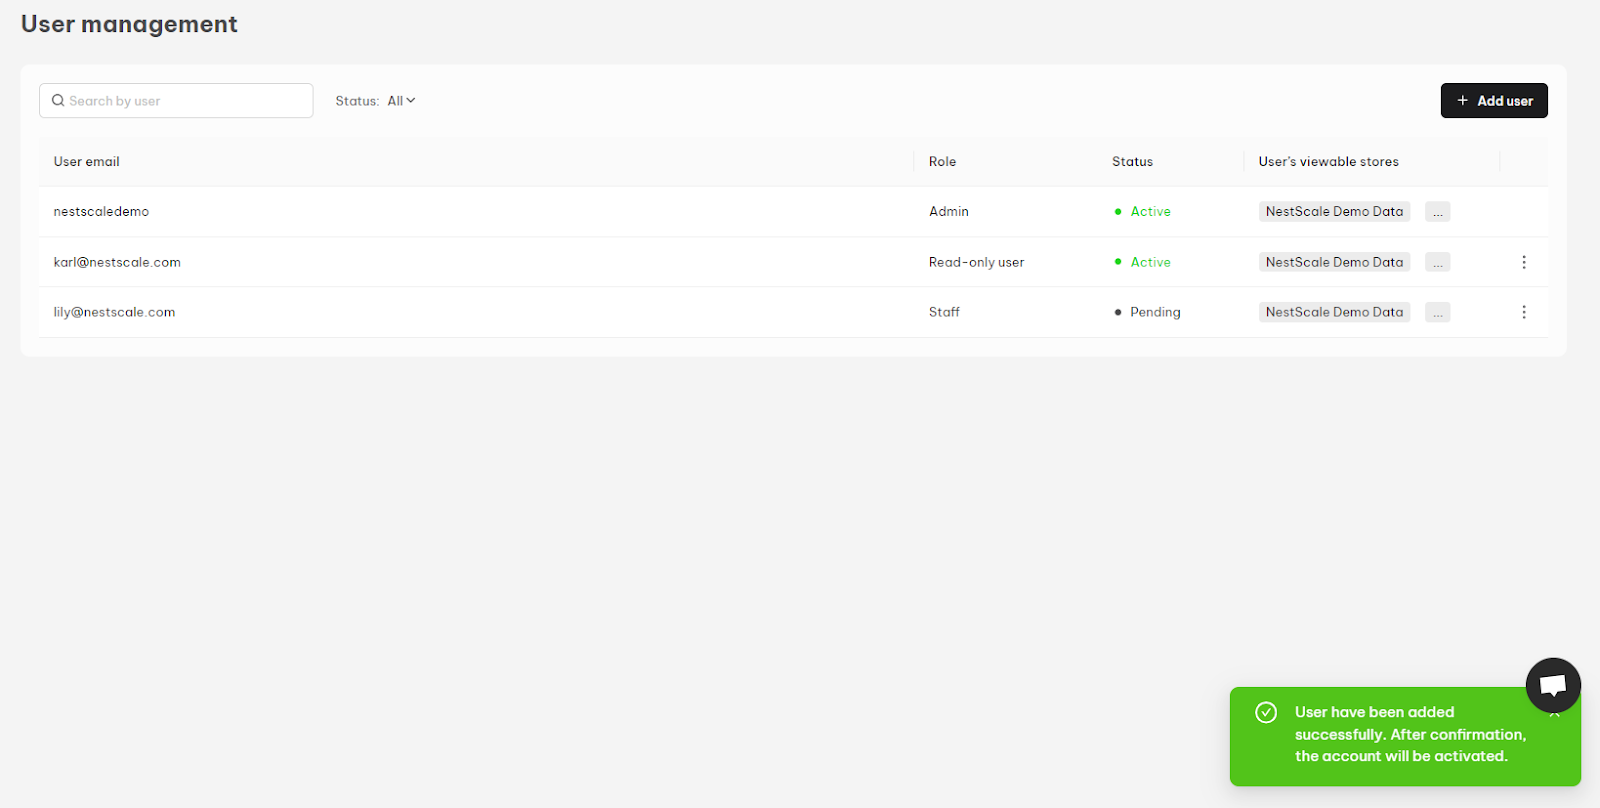
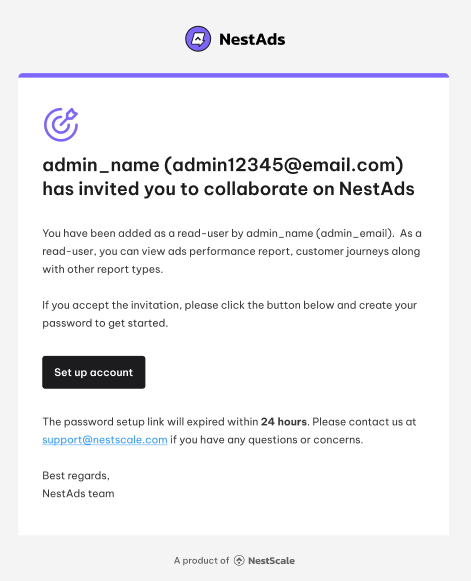
NestAds will send a login instruction to the user’s email. Until the user accepts the invitation, their status will be displayed as “Pending“
Here’s how the invitation email looks like:
How to edit users in your account?
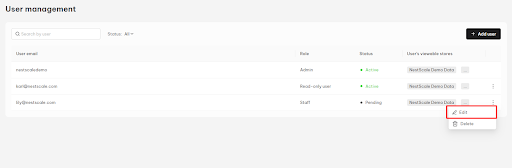
- From the left-sidebar, navigate to Settings > Choose User management > click on the three dots icon beside a user > choose Edit
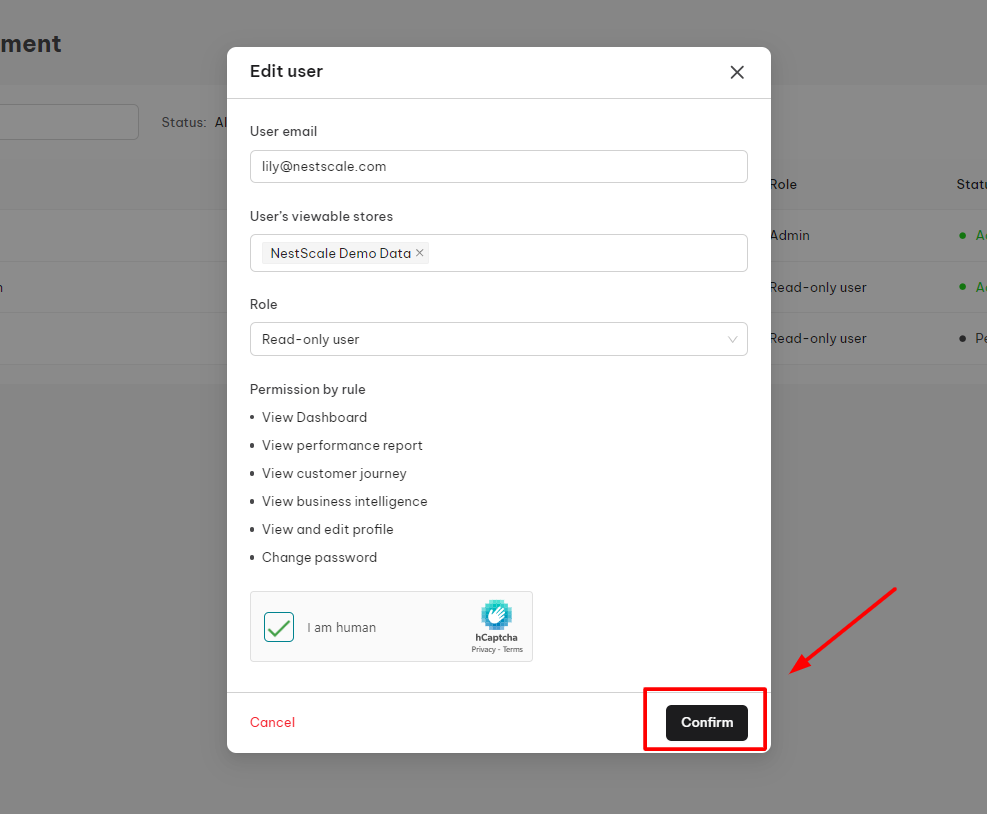
- Edit the user’s access viewable store > click Confirm
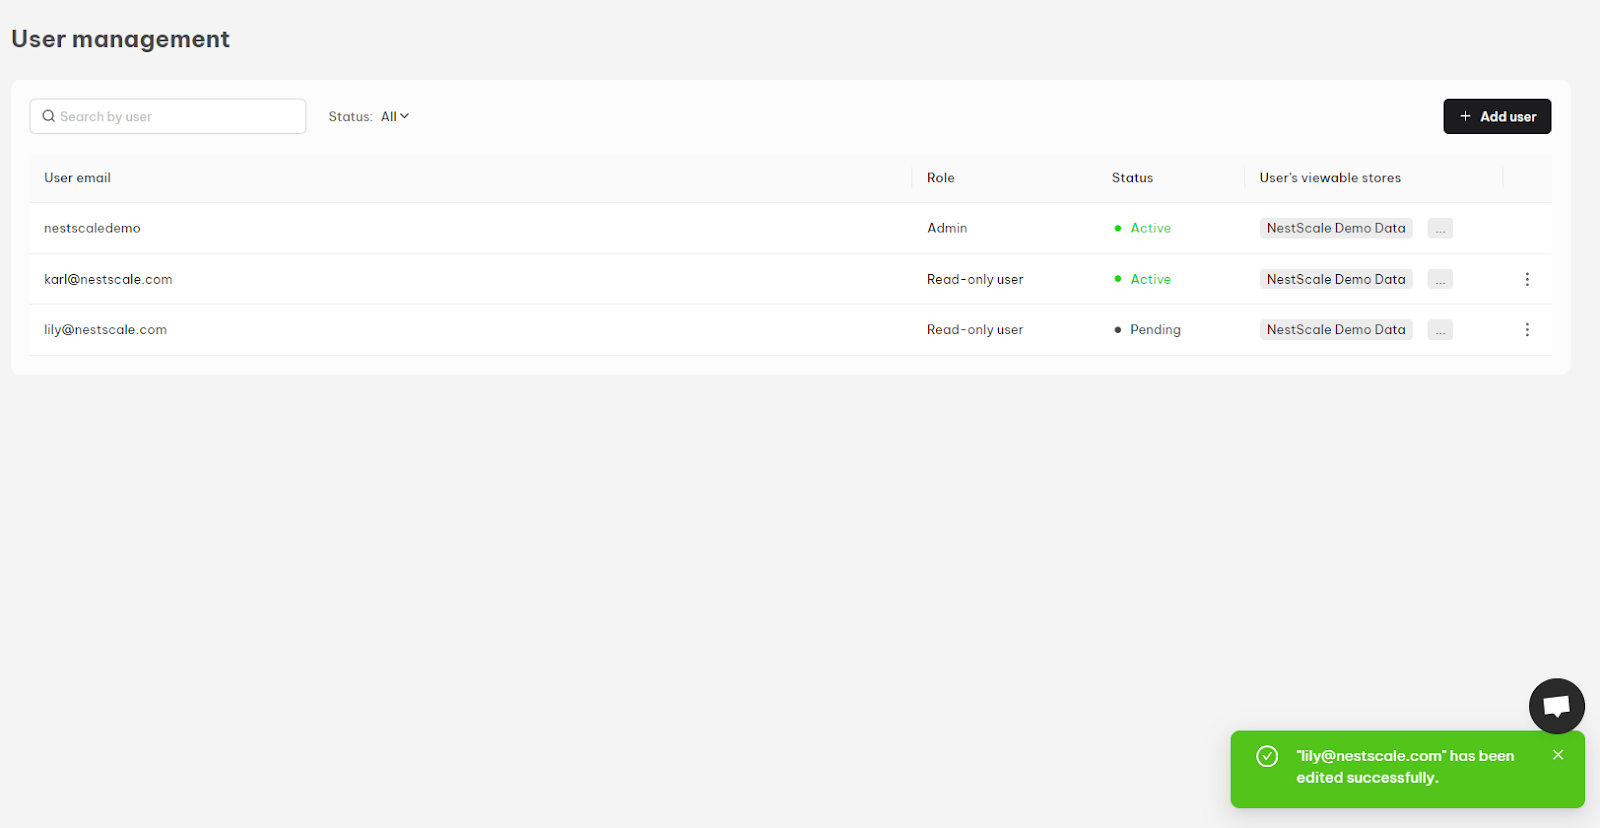
A notify pop-up window will appear in the bottom right corner.
How to delete users from your account?
- From the left-sidebar, navigate to Settings > Choose User management > click on the three dots icon beside a user > choose Delete.
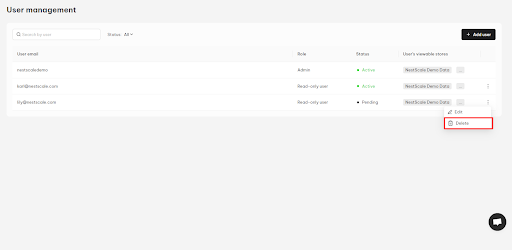
- Click on Confirm button on the confirmation pop-up window.
A notify pop-up window will appear in the bottom right corner
Note: When a user is deleted, they will not receive a notification from NestAds.
Need any help?
Please contact our support team via live chat or email at [email protected].
We are happy to help you as soon as possible!