 NestAffiliate
  NestDesk
  NestScale Product Variants
 Integrating Klaviyo with NestAds enhances email campaign tracking and attribution, providing deeper insights into your customer journeys and enabling more personalized, effective marketing strategies.
In this post, you will learn how to connect Klaviyo account with NestAds app. Let’s get started now!
Overview of Klaviyo account system
Klaviyo is a powerful email marketing and automation platform designed to help businesses set up personalized and effective marketing campaigns. With Klaviyo, users can build detailed customer profiles, segment their audience, and create targeted email campaigns that drive engagement and sales.
You can follow the simple guidelines below to create a Klaviyo account:
1. Get a Klaviyo Account
To start using Klaviyo, you’ll need to create an account. Visit Klaviyo’s website and sign up using your email address. You can create an account for yourself or your business.
2. Set up Klaviyo Account
Once you have your account, log in to Klaviyo and begin setting up your account. This includes:
- Connecting Your Store: Integrate Klaviyo with your Shopify stores to import your customer data and start building detailed customer profiles.
- Importing Contacts: If you have existing customer lists, you can import them into Klaviyo to begin segmenting and targeting your audience.
- Configuring Settings: Set up your account settings, including email preferences, company details, and branding.
With your account set up, you can now create and manage your email campaigns.
How to connect Klaviyo account with NestAds from scratch
NestAds allows you to integrate 1 Klaviyo account with each Shopify store by getting a Private API key from Klaviyo. Here is how you can do it:
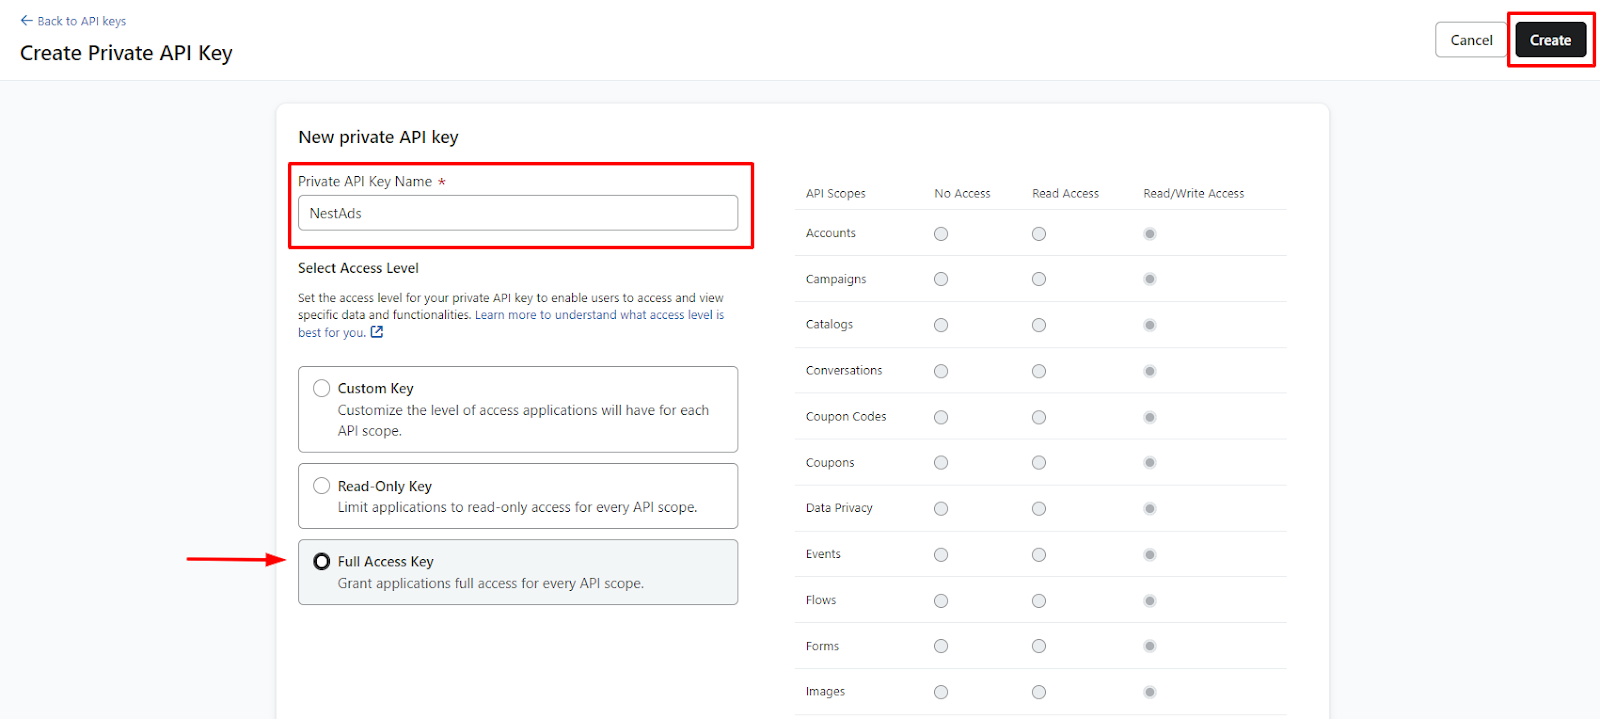
- In Klaviyo account, go to Settings > API keys > click on Create Private API Key button
- Name the private API key > Tick on Full Access Key > Select Create button on the top right
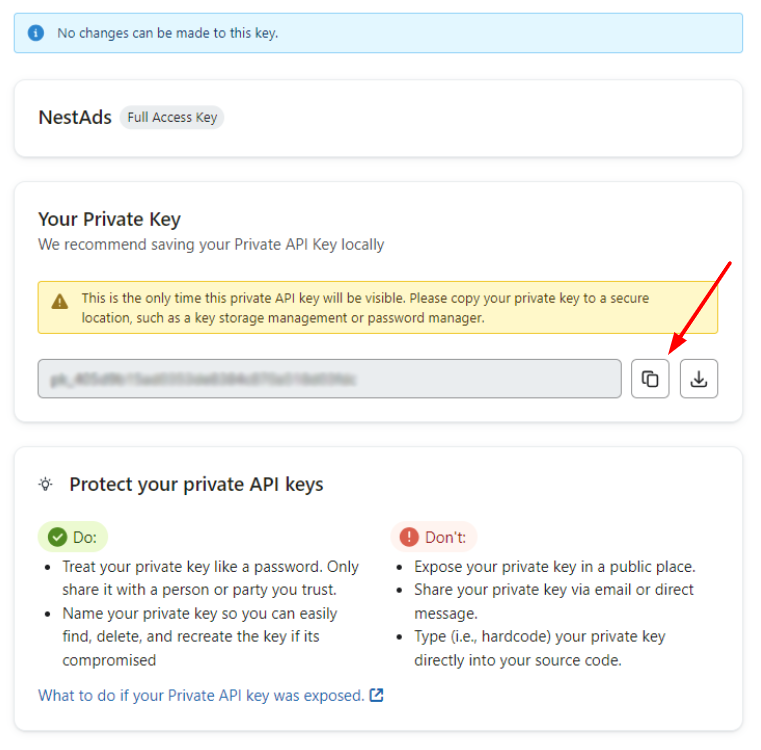
- Click on the Copy icon to copy the API key
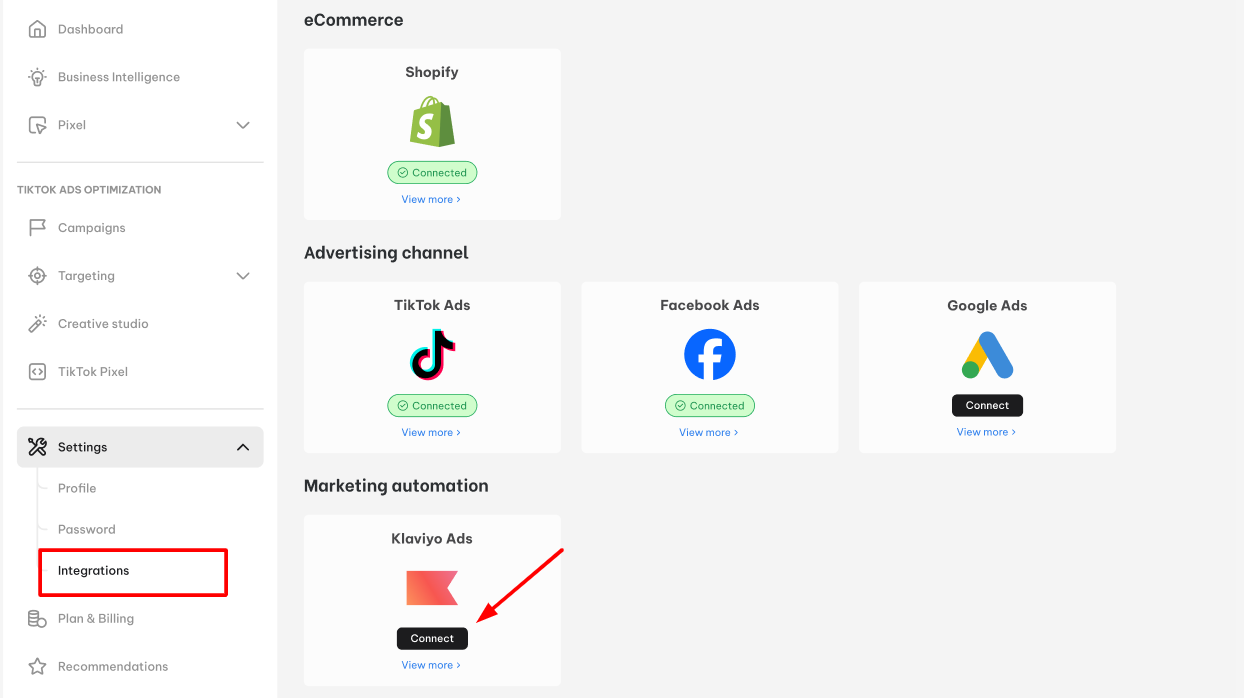
- Go to NestAds app, navigate to Settings > Integrations
- In Marketing automation section, click on Connect button under Klaviyo
- From Klaviyo Integrations > select Add private key to connect
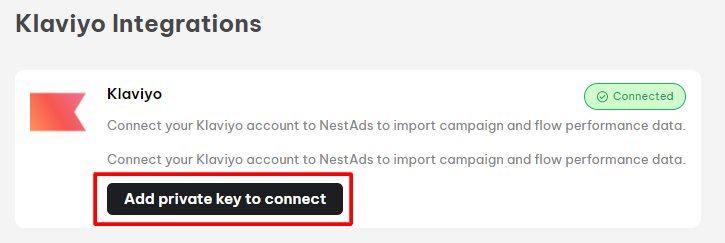
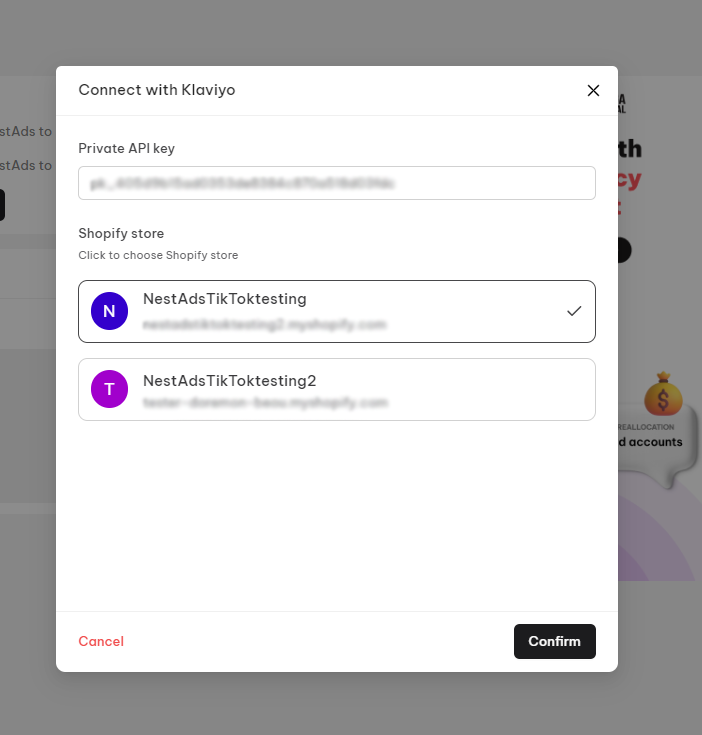
- Select the Shopify store you want to integrate Klaviyo with > paste the API key > click on Confirm to complete.
That’s done! After finishing the integration steps, your Klaviyo account will get access to NestAds app.
Next step, simply add NestAds Tracking Parameter to start tracking your email campaigns and flows in Klaviyo.
>> Read more: Add NestAds Tracking Parameter In Klaviyo
Need any help?
If you need any help, feel free to contact us via live chat in app or email at [email protected]