 NestAffiliate
  NestDesk
  NestScale Product Variants
 In this article, you will learn what Static Widget is and How to create it with NestWidget. Let’s get started now!
What is Static Widget
The static widget allows you to select specific media posts/items that you want to highlight. These widgets are manually updated and won’t automatically display new content.
How to create a Static Widget
To create a static widget, from the app dashboard, click on My Widget, and choose New static widget button. If you already have widget(s) in the list, click on New widget button on the top right corner and select Static widget.
*Note: You must have at least one media post to create a new widget.
Read more: My asset and How do it work
After that, a new page Create new static widget with two steps appear:
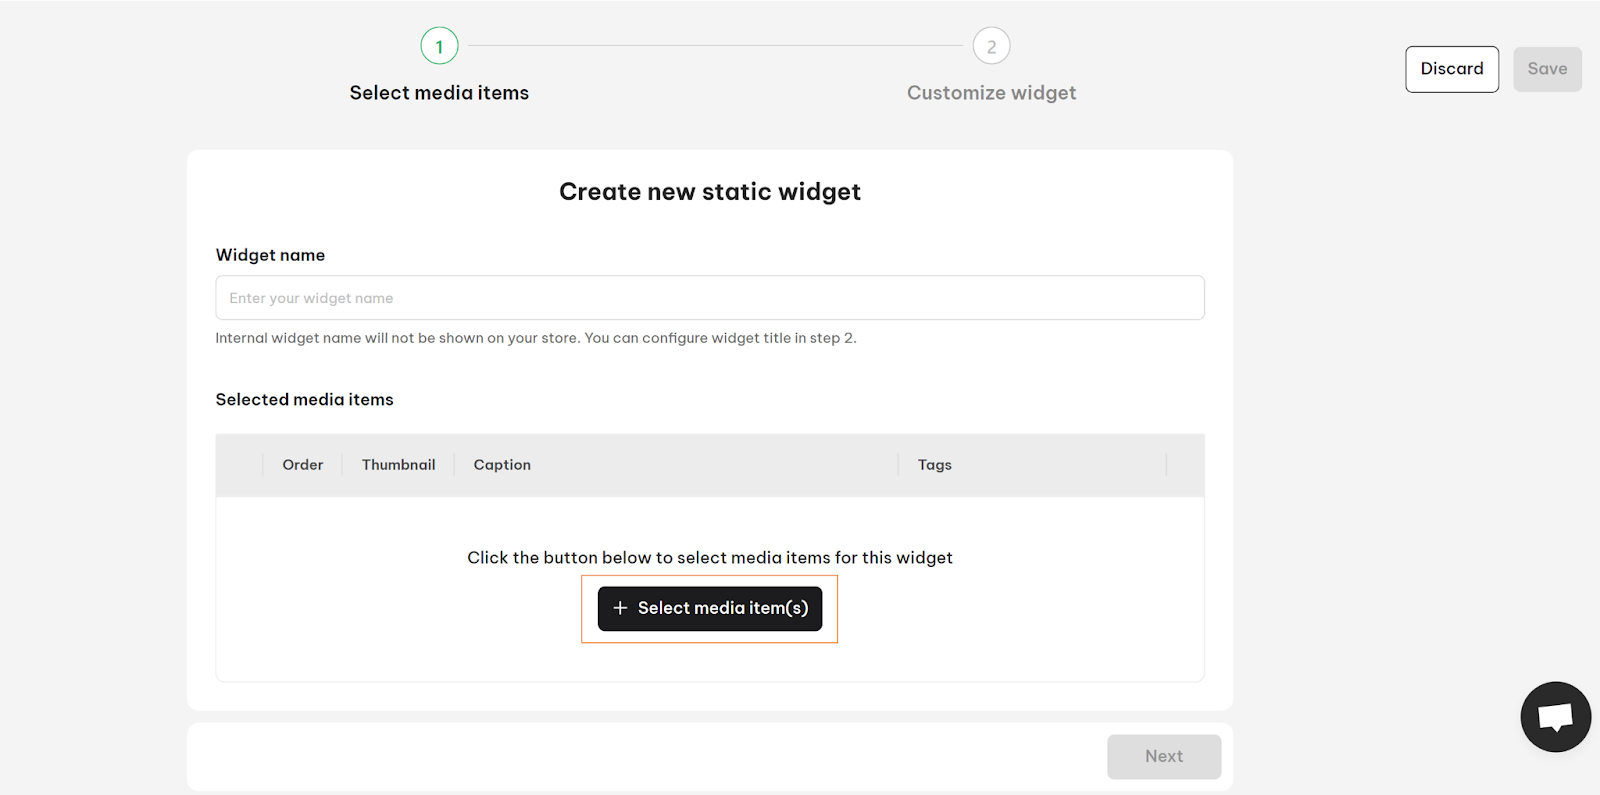
Step 1: Select media items
- Widget name: Enter a name for your widget
*Note: The widget name is internal and is not shown on your website. You can also configure the widget title later in Step 2.
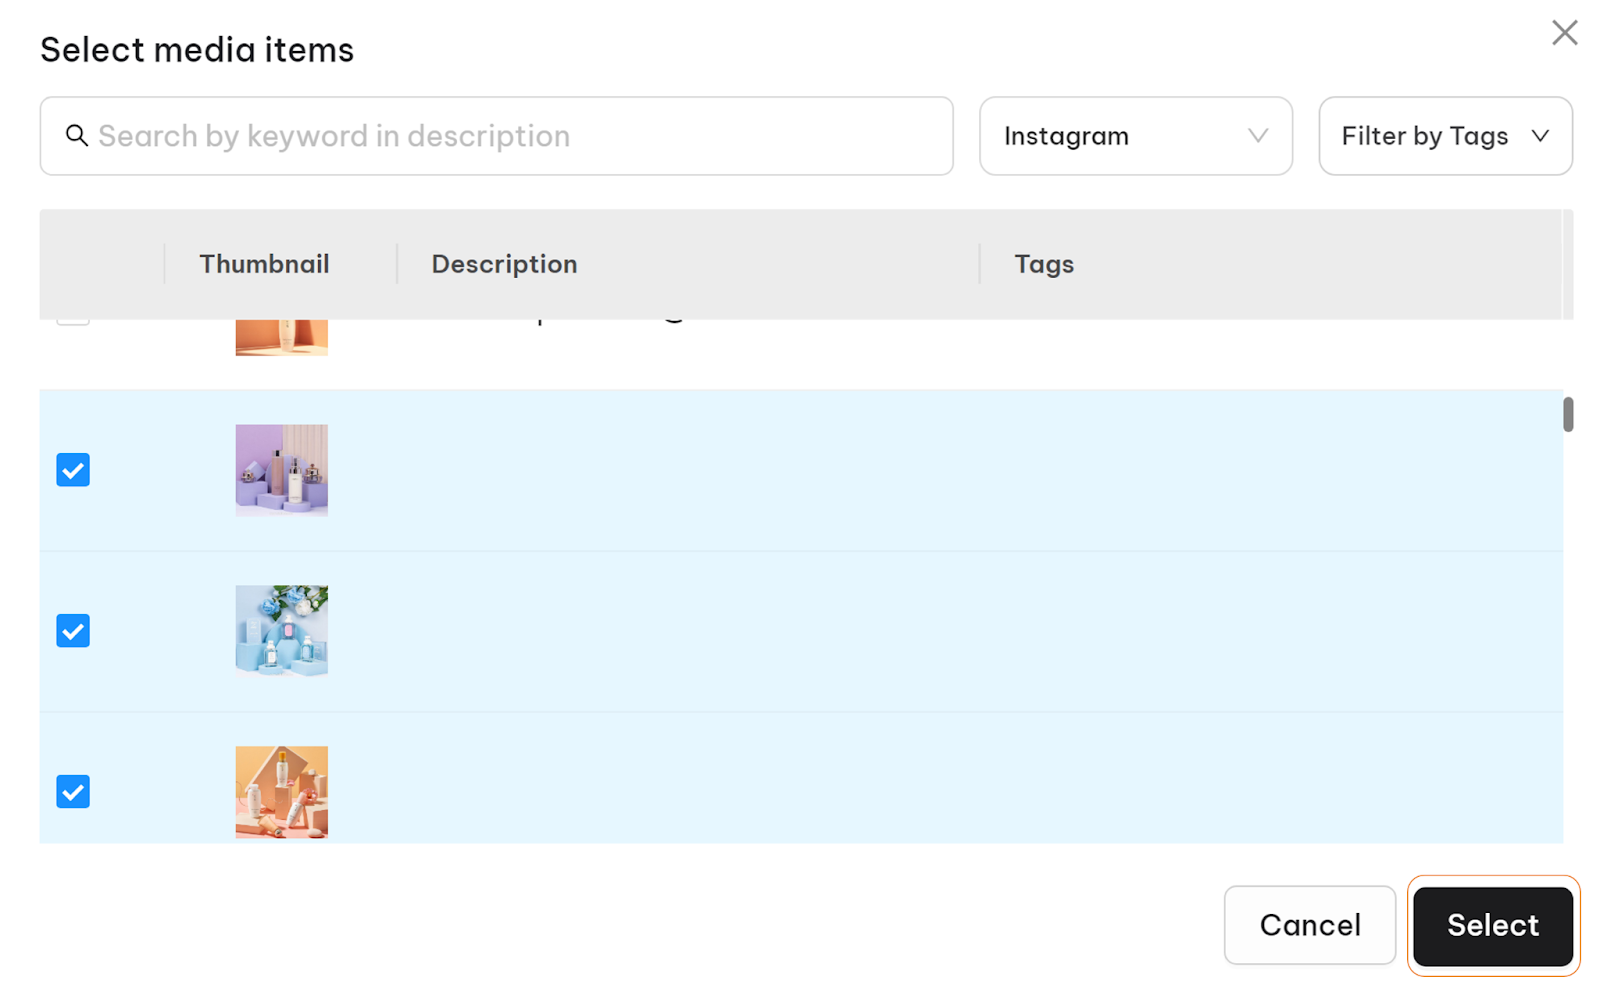
- Selected media items: Click on + Select media source(s) button. A pop-up window will appear, allowing you to filter media and select the desired posts. Tick the box next to the chosen media items, then click Select to confirm.
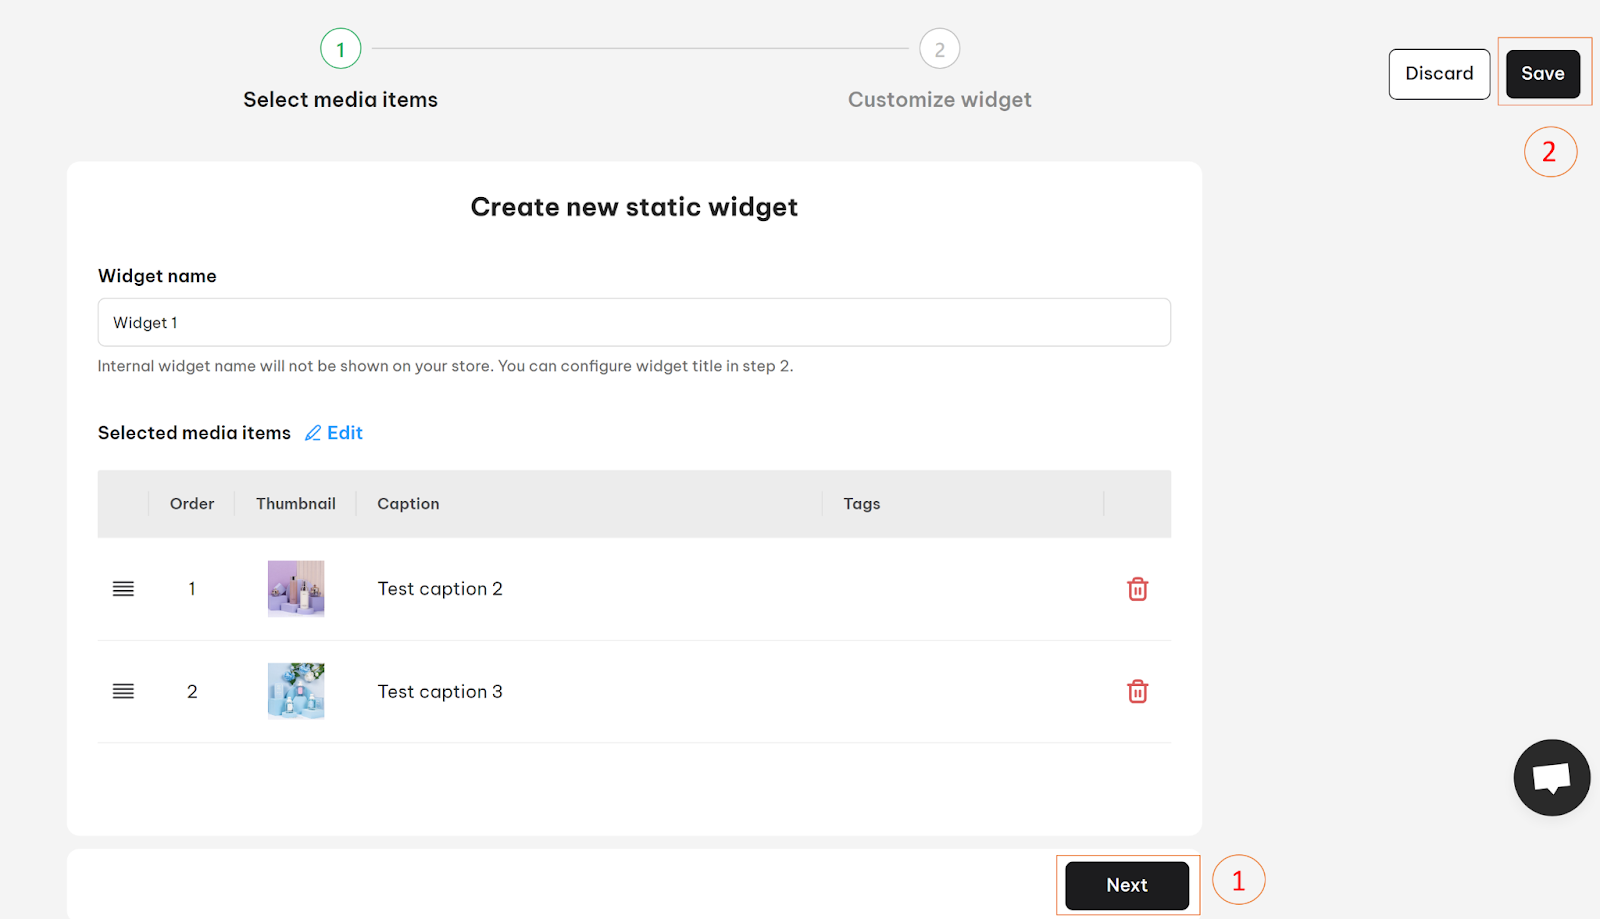
If you want to customize your widget, click Next. Otherwise, click on Save button.
Step 2: Customize widget
This is where you can configure additional settings for the appearance of your widget.
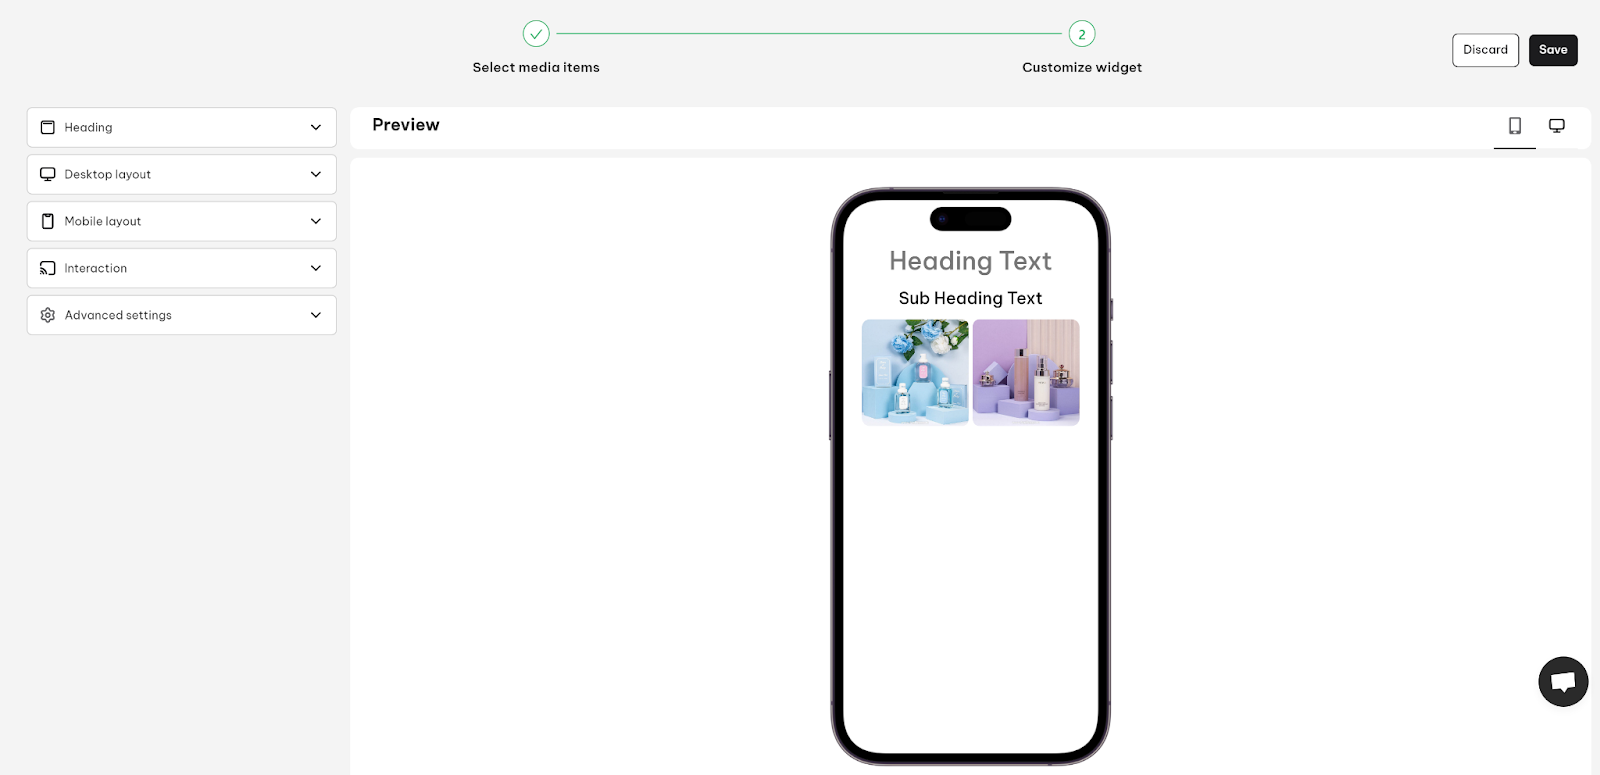
1. Heading
Title Heading
- Heading text: Maximum character is 50
- Heading text color: Enter color code or pick one from the color chart
- Heading font size (px)
Subheading
- Subheading text: Maximum character is 150
- Subheading text color: Enter color code or pick one from the color chart
- Subheading font size (px)
2. Desktop layout
Customize the appearance of your widget on the desktop
- Width (%)
- Item spacing (px)
- Layout type: Select from Grid or Carousel
- Columns
- Rows
- “Show more” button
- ‘Show less” button
3. Mobile layout
Customize the appearance of your widget on mobile
- Columns
- Rows
- Item spacing (px)
- “Show more” button
- “Show less” button
4. Interaction
- Hover effects: Select no effect, Show a caption or Autoplay video
- Button text (Please click on a post to see preview of the button)
- Button text color
- Button fill color
- Button border color
5. Advanced Setting
- Post settings: The maximum post shown on the widget: Maximum is 60 posts/widget
- Corner radius (px)
- Widget background color
- Thumbnail ratio setting: 1:1, 9:16 or 16:9
- Show social proof on popup: Turn on the toggle to show social proof like comment, like, share…
Preview your widget on mobile and desktop in the Preview section. Click Save to finalize your static widget when you’re happy with the appearance.
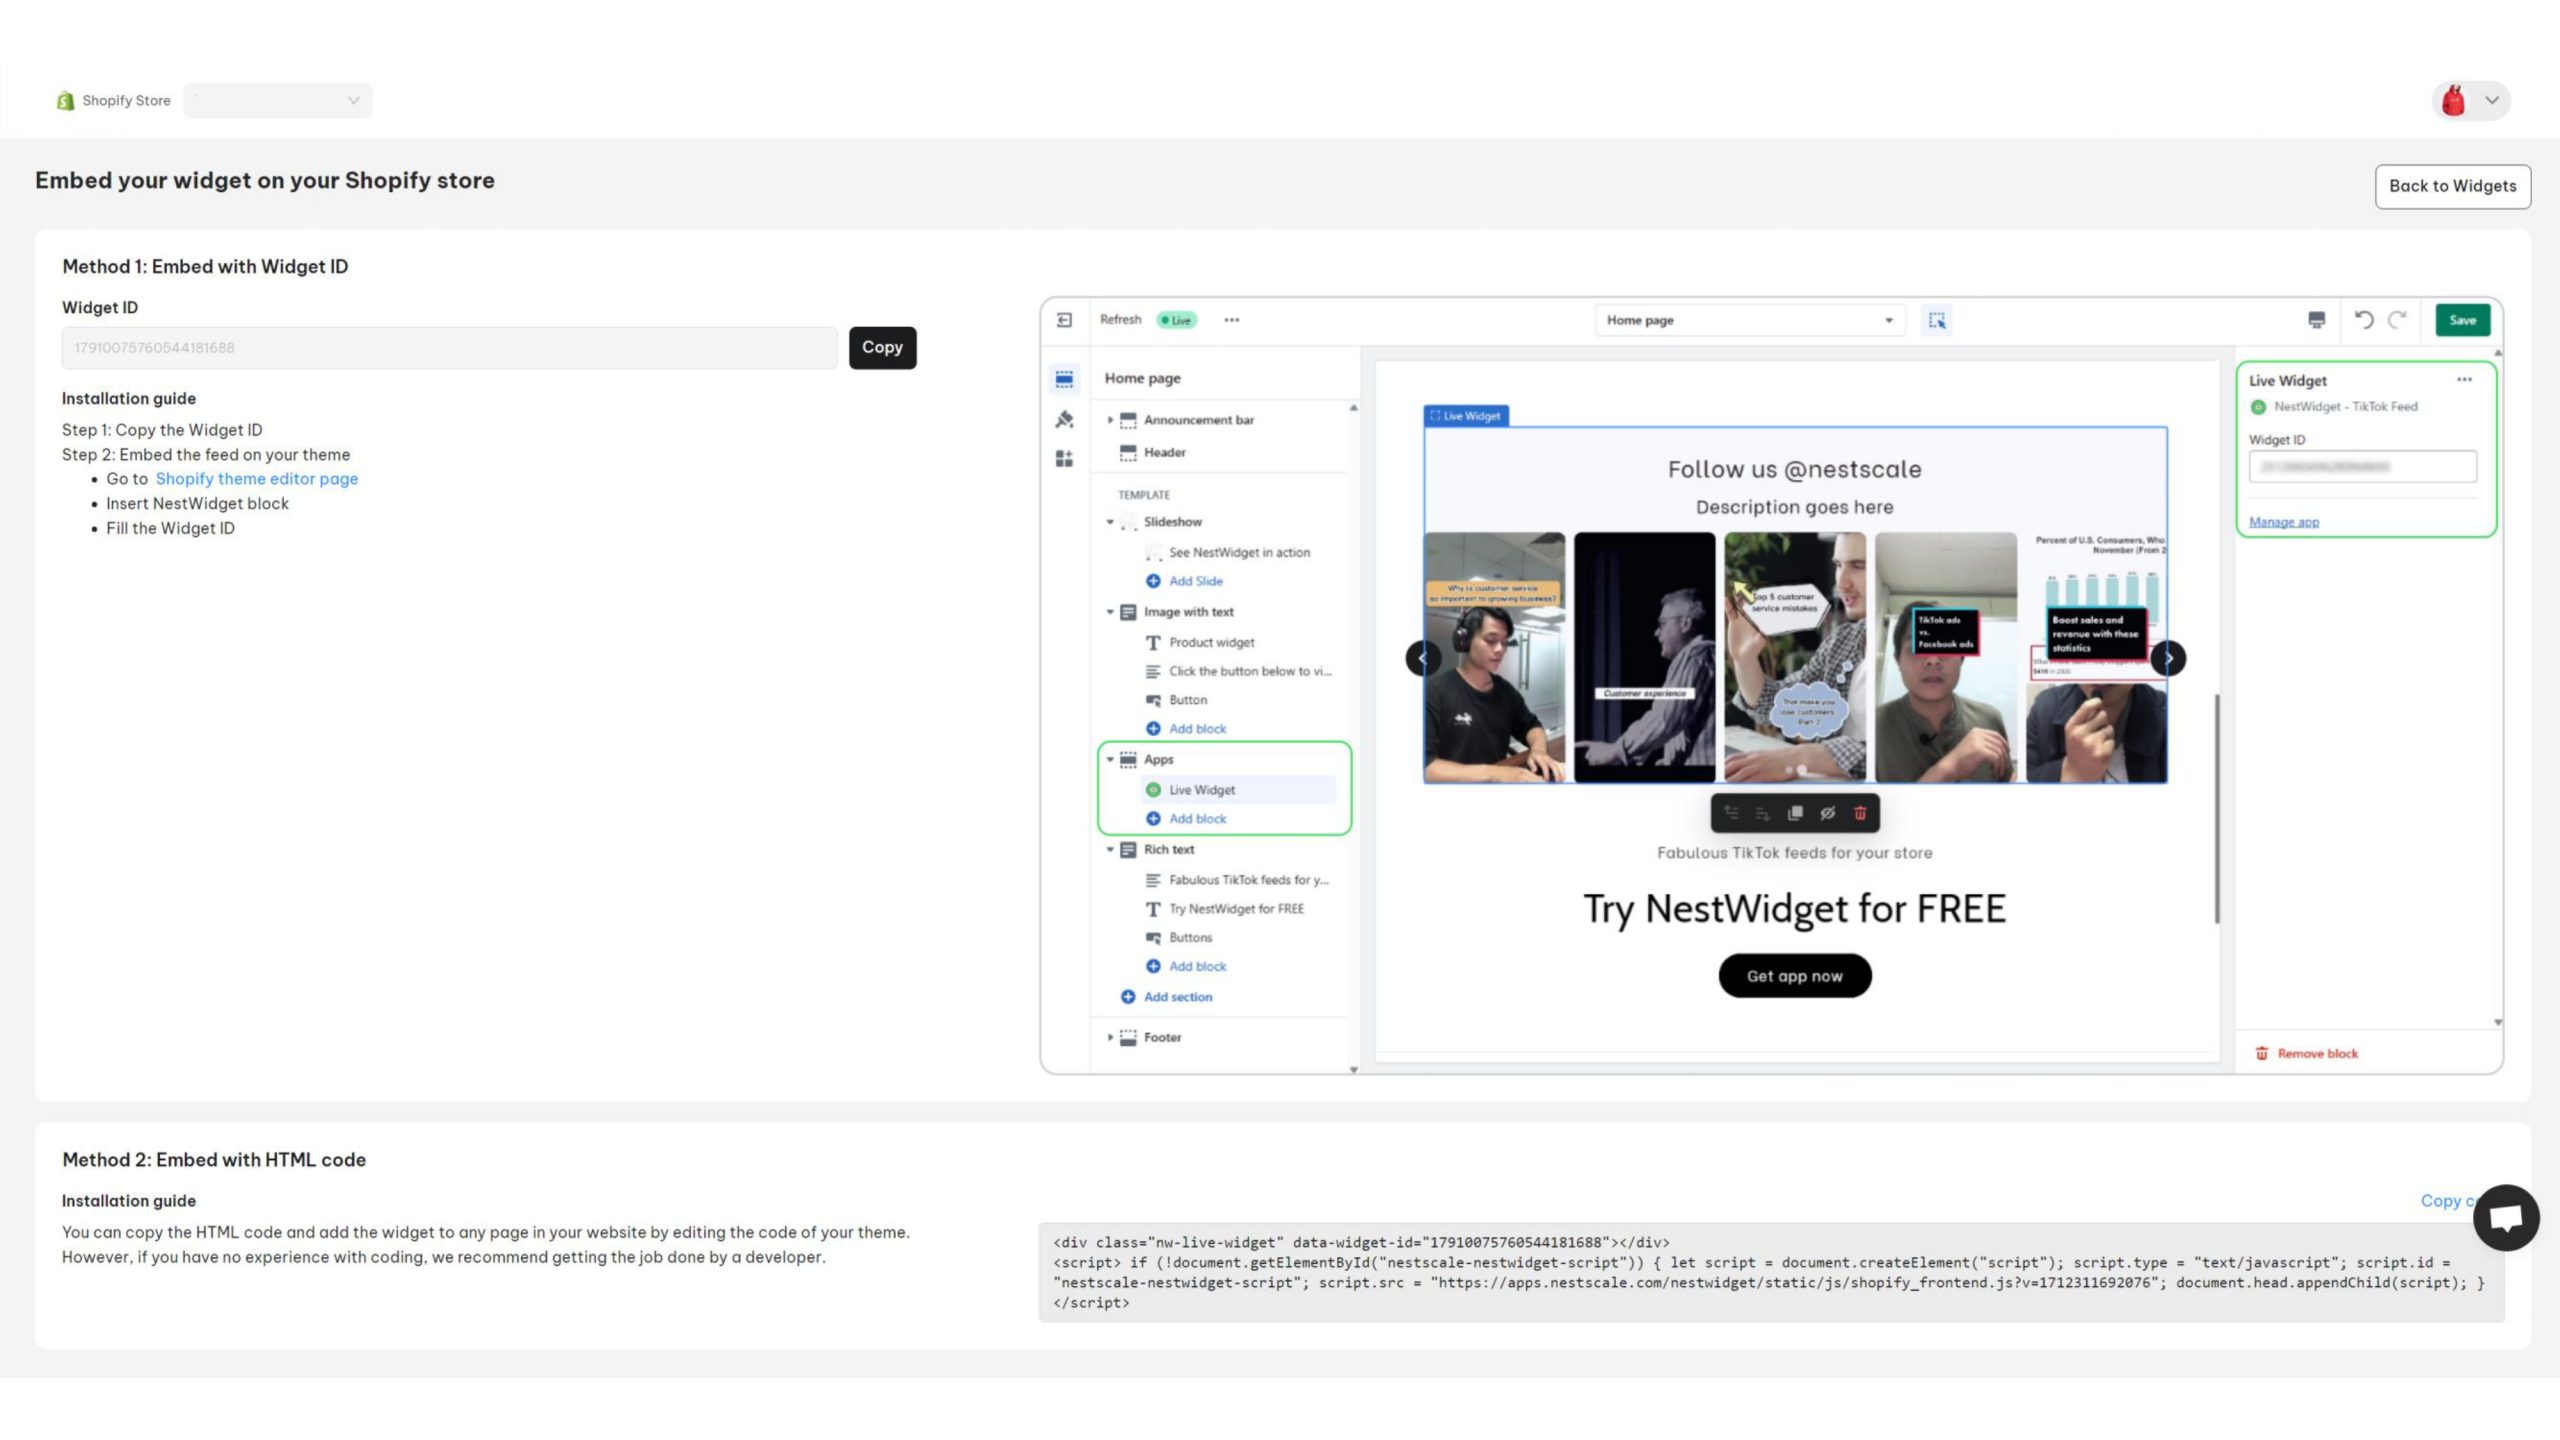
There are 2 ways that you can do below to embed your widget on your Shopify store:
Embed with widget ID
Step 1: Copy the Widget ID
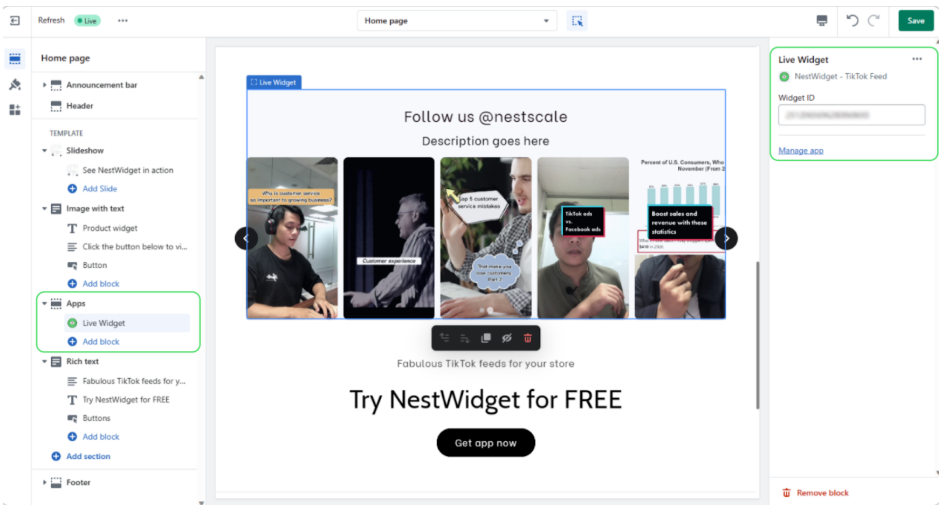
Step 2: Embed the feed on your theme
- Go to Shopify theme editor page
- Insert NestWidget block
- Fill in the Widget ID
Embed with HTML code
You can copy the HTML code and add the widget to any page on your website by editing the code of your theme.
However, if you have no experience with coding, we recommend getting the job done by a tech-savvy person.
After all, refresh your website and marvel at your stunning feeds now.
Need any help?
Please contact our support team via live chat or email at [email protected]
We are happy to help you as soon as possible!