 NestAffiliate
  NestDesk
 In this guide, you’ll find step-by-step instructions to help you customize your swatches on product page. Let’s get started!
How to customize the swatch display on product page
Navigate to Design settings section > click on Product page tab.
Here, any variant styles you’ve selected will be highlighted with an “In Use” label.
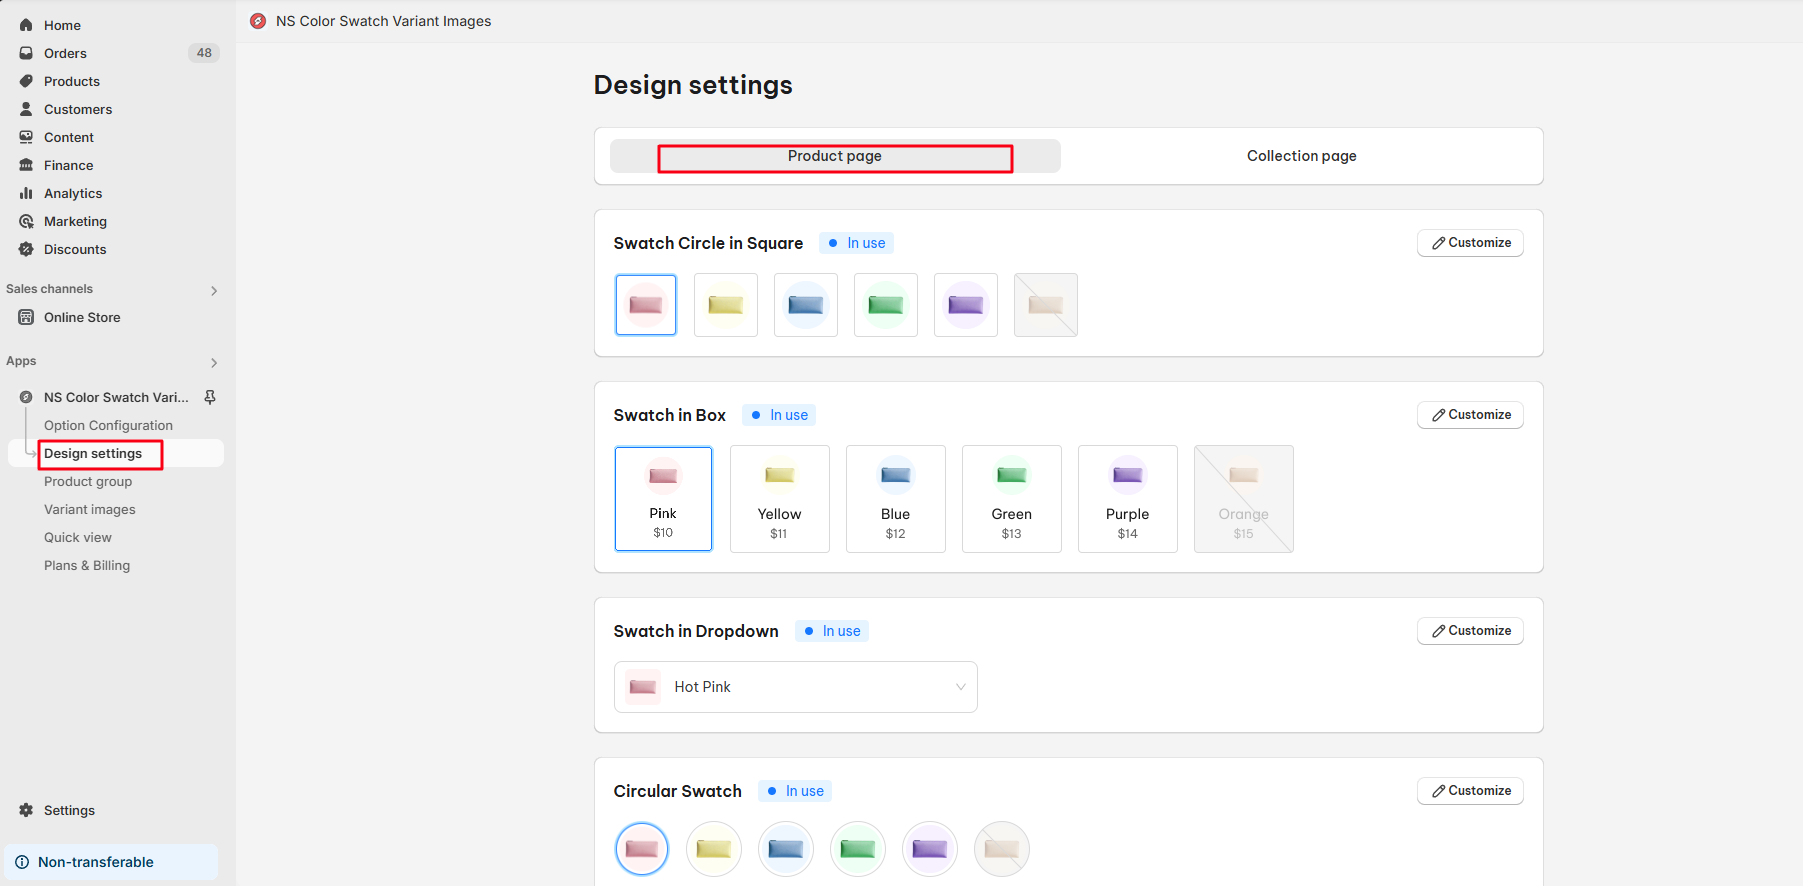
To edit them, simply click the Customize button on the right side of your chosen swatch style.
Depending on the style, you can customize various sections to match your preferences:
1. Image Swatches Customization
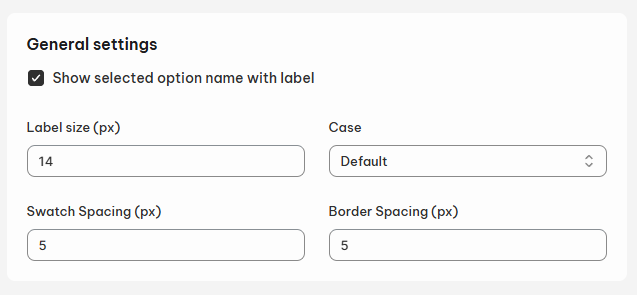
General settings
- Swatch Names:
- Label size: Enter your preferred value.
- Case: Choose from Default, Uppercase, or Lowercase.
- Spacing Settings:
- Swatch Spacing: Adjust the spacing between swatches.
- Border Spacing: Set the distance around the border.
Note: To hide the option label, toggle off the Show selected option name with label button.
Note: With Swatch in Box or Swatch in Dropdown, you can display product prices inside variant boxes by enabling the Show Price button.
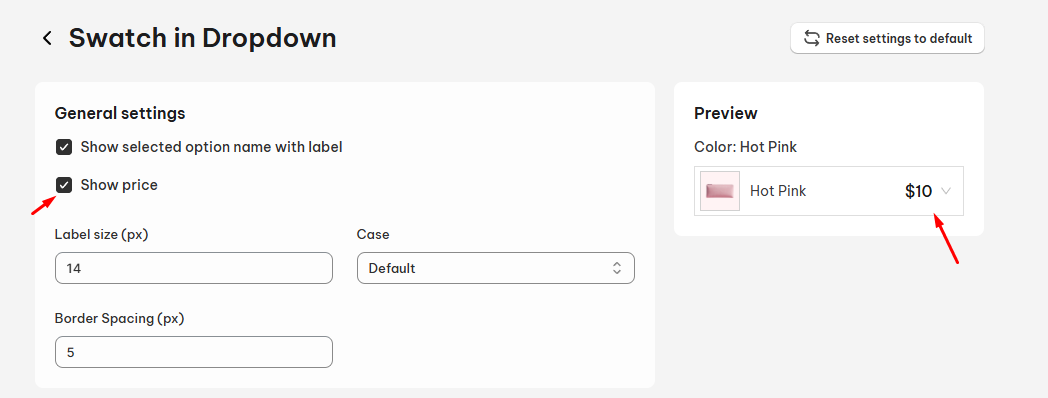
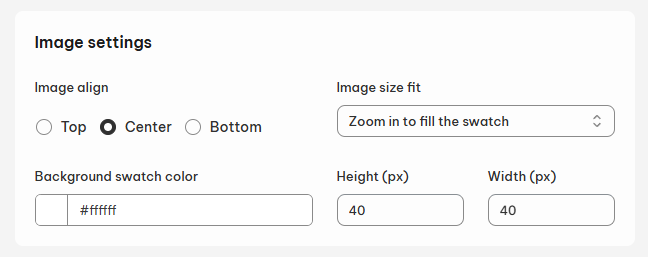
Image settings
- Image Align: Crop the image from the Top, Bottom, or Center.
- Background Swatch Color
- Image Size Fit:
- Cover: Zoom in to fill the swatch.
- Container: Zoom out to fit the entire image within the swatch.
- Height & Width Size
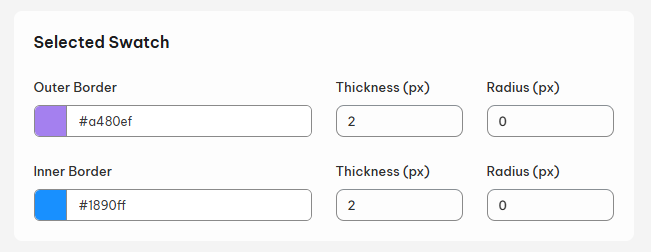
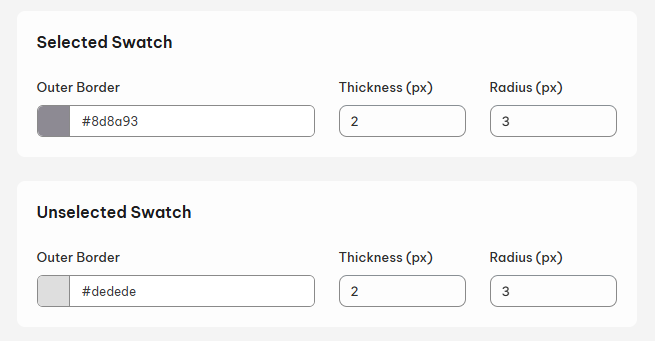
Selected Swatch
- Outer Border
- Thickness
- Radius: Where you rounded the outer border
- Inner Border
- Thickness
- Radius
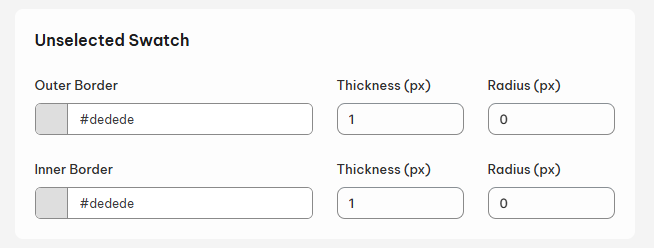
Unselected Swatch
- Outer Border
- Thickness
- Radius: Where you rounded the outer border
- Inner Border
- Thickness
- Radius
Hover swatch
- Show Variant Description
- Show Shadow: Adjust thickness and blur.
- Show Tooltip with Variant Image
- Zoom Variant Image: Set scaling and zoom size.
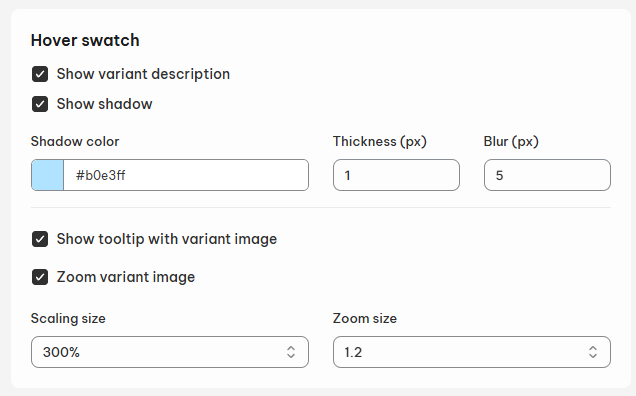
Note: Hover swatch setting is not applicable for Swatch in Dropdown.
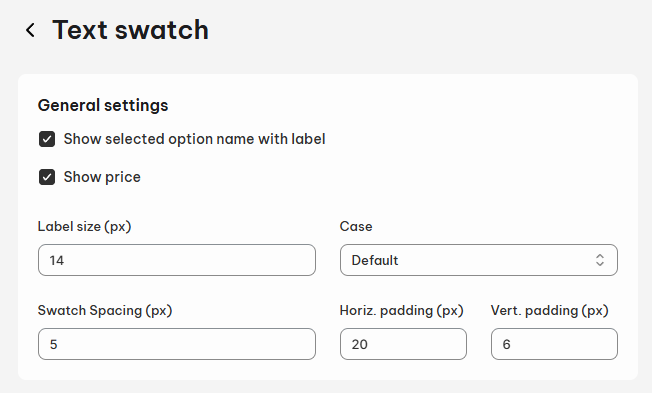
2. Text Swatches Customization
General Settings
- Swatch Names
- Size: Enter your preferred value.
- Case: Choose from Default, Uppercase, or Lowercase.
- Spacing Settings
- Swatch Spacing: Adjust spacing between swatches.
- Horizontal & Vertical Padding
Note:
- To hide the option label, toggle off the Show selected option name with label button.
- You can also display variant prices inside text swatches by enabling the Show Price button.
Selected Swatch
- Outer Border: Adjust thickness and rounding (radius).
Unselected Swatch
- Outer Border: Adjust thickness and rounding (radius).
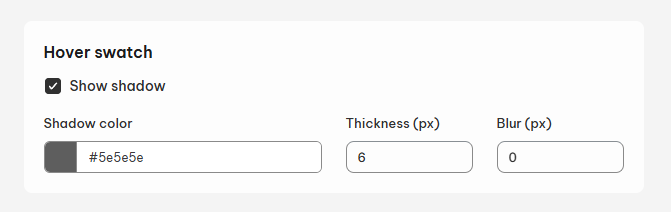
Hover swatch
- Show shadow
- Shadow color
- Thickness
- Blur
Real-Time Preview
While editing, you can see all changes in real-time using the Preview feature on the right-hand side of the page.
When you’re satisfied, don’t forget to Save your changes to update your newly customized swatches!
Need More Help?
Book a 30-Minute NestScale Product Variants Demo Meeting or contact our support team for assistance:
📩 Email: [email protected]
💬 Live Chat: Available in the app
We’re happy to help you anytime!