 NestAffiliate
  NestDesk
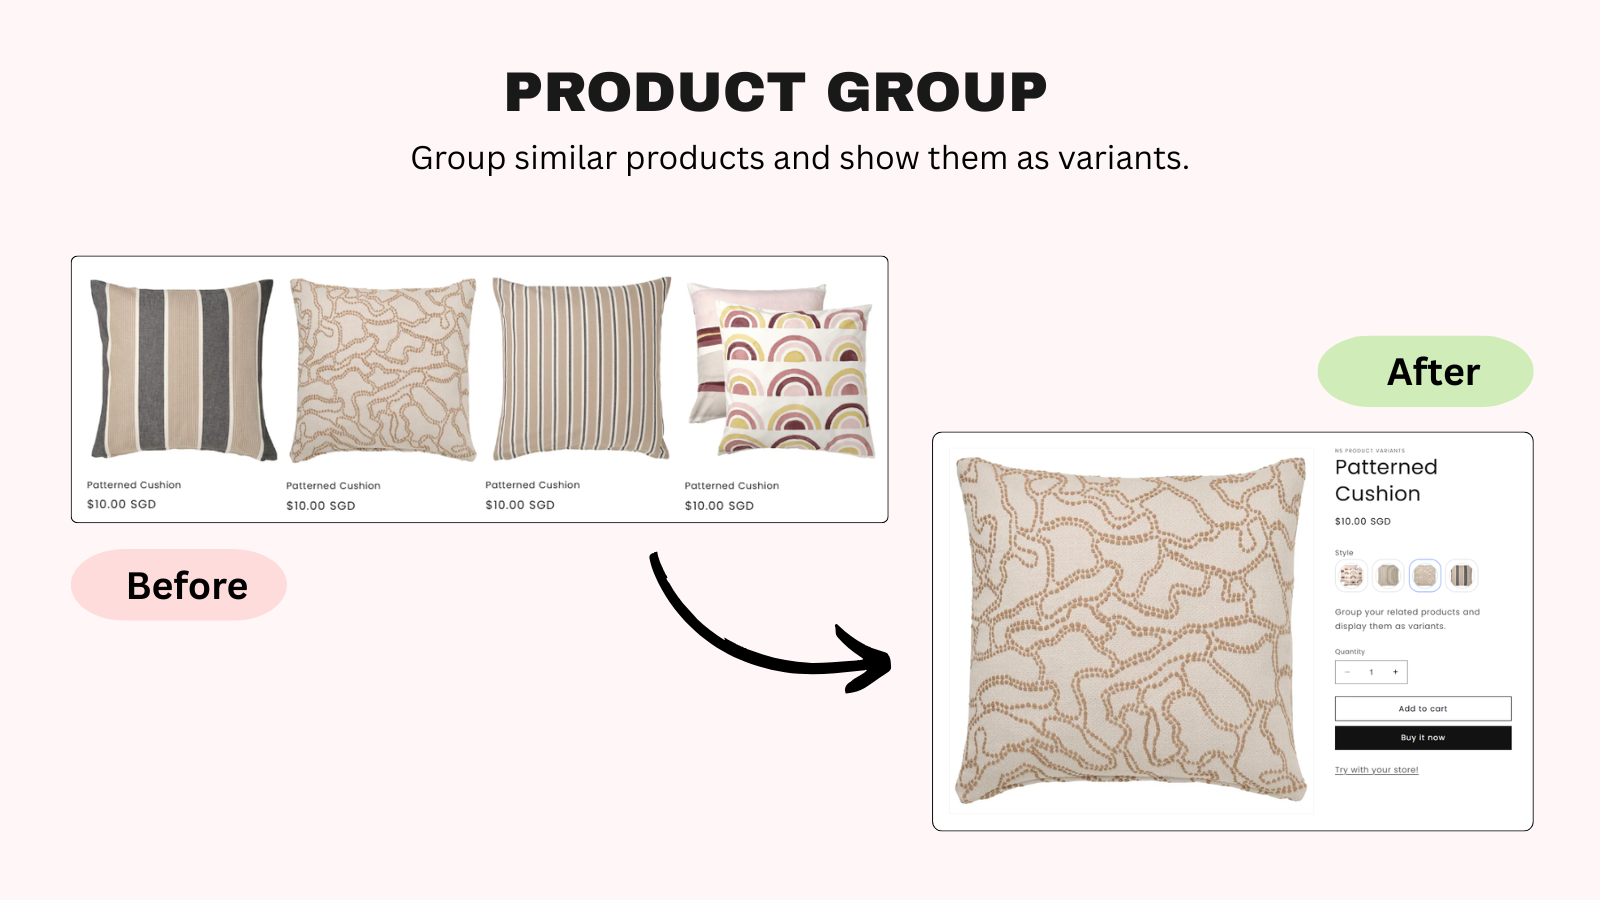
 Product Group feature (aka Combined Listings) lets you combine separate products with shared attributes (e.g., the same shirt in different colors) and display them as selectable variants under a single product listing.
By doing so, you enhance the shopping experience, allowing customers to easily explore product variants without navigating multiple product pages.
In this guide, we’ll walk you through how to set up Product Groups using the NestScale Product Variants app.
How To Set Up a Product Group (Combined Listings)
Note: The Product Group feature is available on the Growth and Pro plans only.
If you’re currently on the Free plan, please upgrade to access this feature.
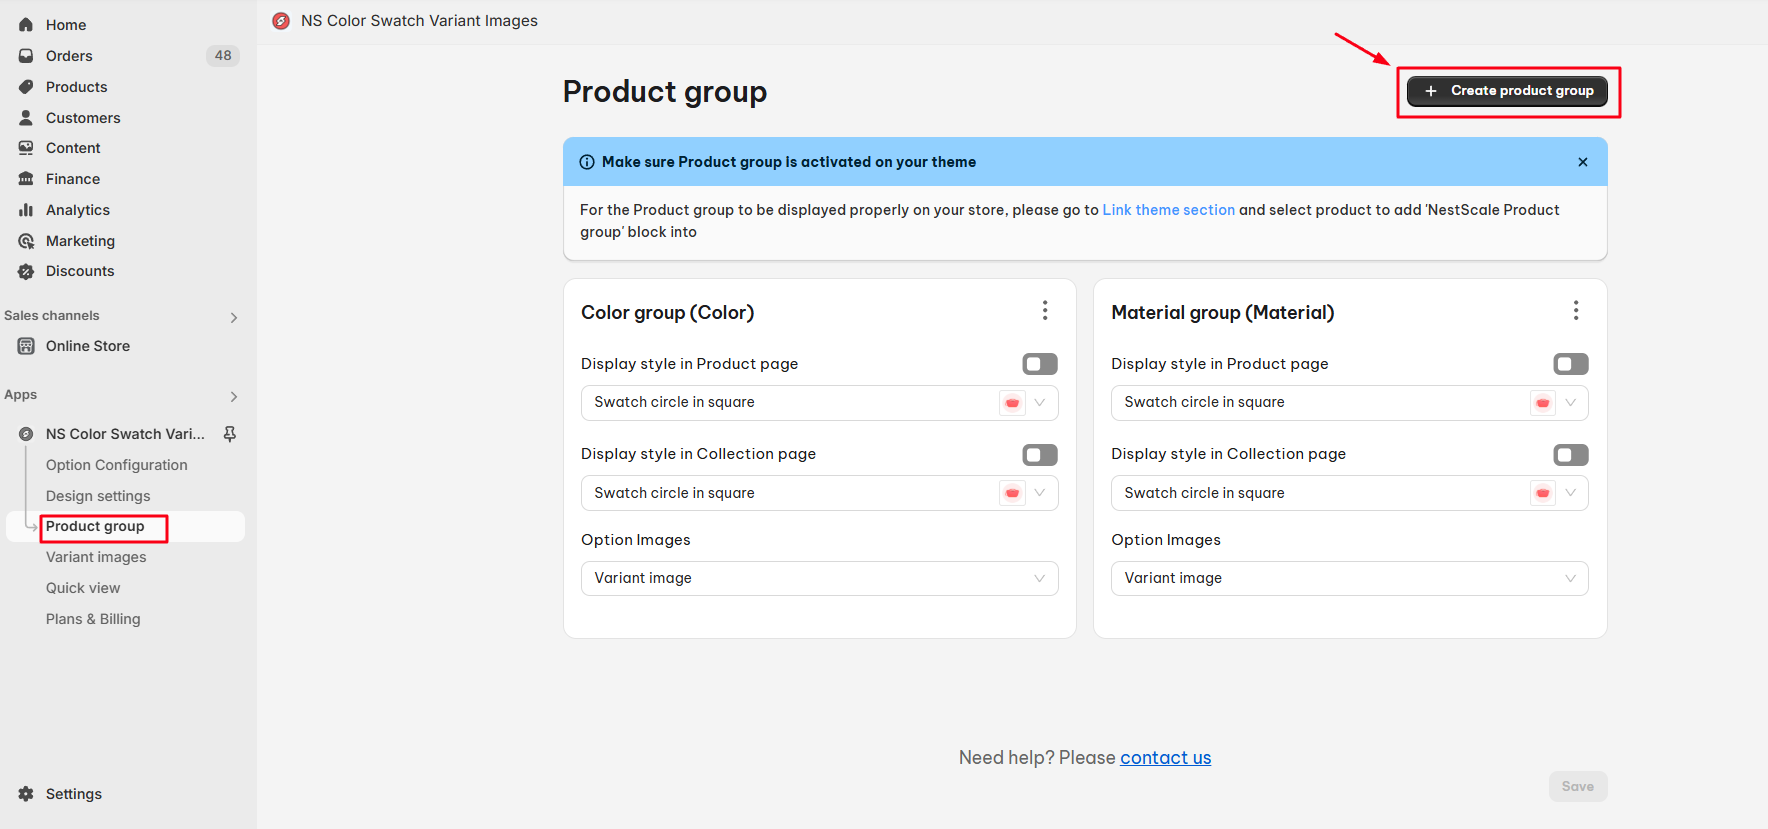
Step 1: Create a New Product Group
- Go to the Product Group section in the NestScale Product Variants app.
- Click the Create Product Group button.
Step 2: Configure Group Settings
General Settings
- Product Group Name
Used internally to manage and identify product groups within the app. This will not be visible on your store front. - Label Name (Default)
Displayed publicly on your Shopify storefront (e.g., “Color”, “Style”). - Label Name (Translation)
Available for Growth users with the Multi-language Translation Add-on, or all Pro users.
Customize the label name for different languages manually.
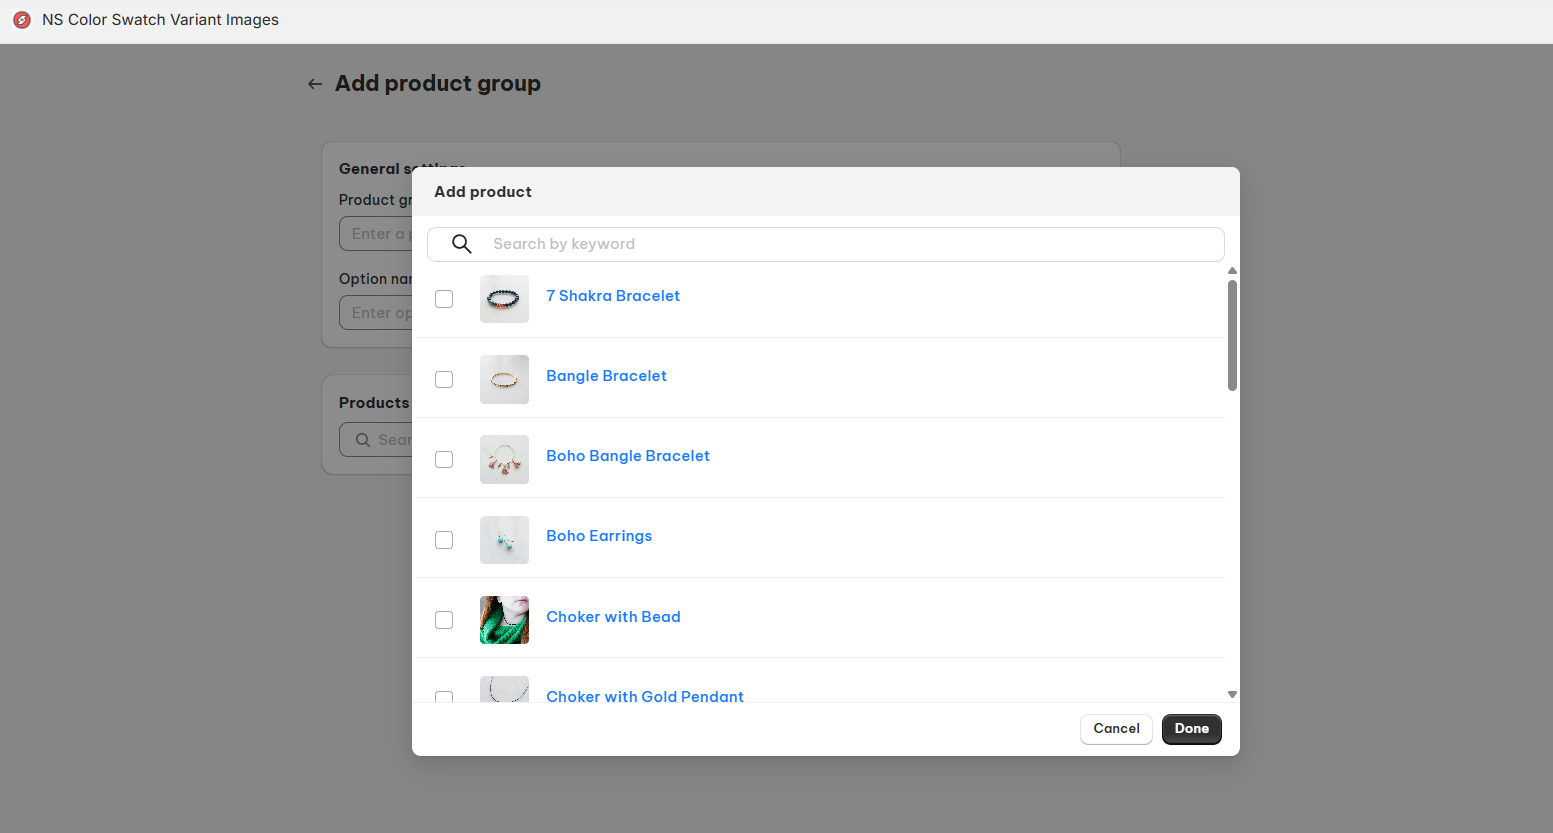
Add Products to the Group
- Click the Add products button.
- Search and select the products you want to include.
- Tick the checkbox next to each product.
- Click Done to add them to the group.
💡 Tip: Group similar items, such as a shirt available in different colors or sizes, to create a more intuitive variant experience.
The Product Group will display as follows:
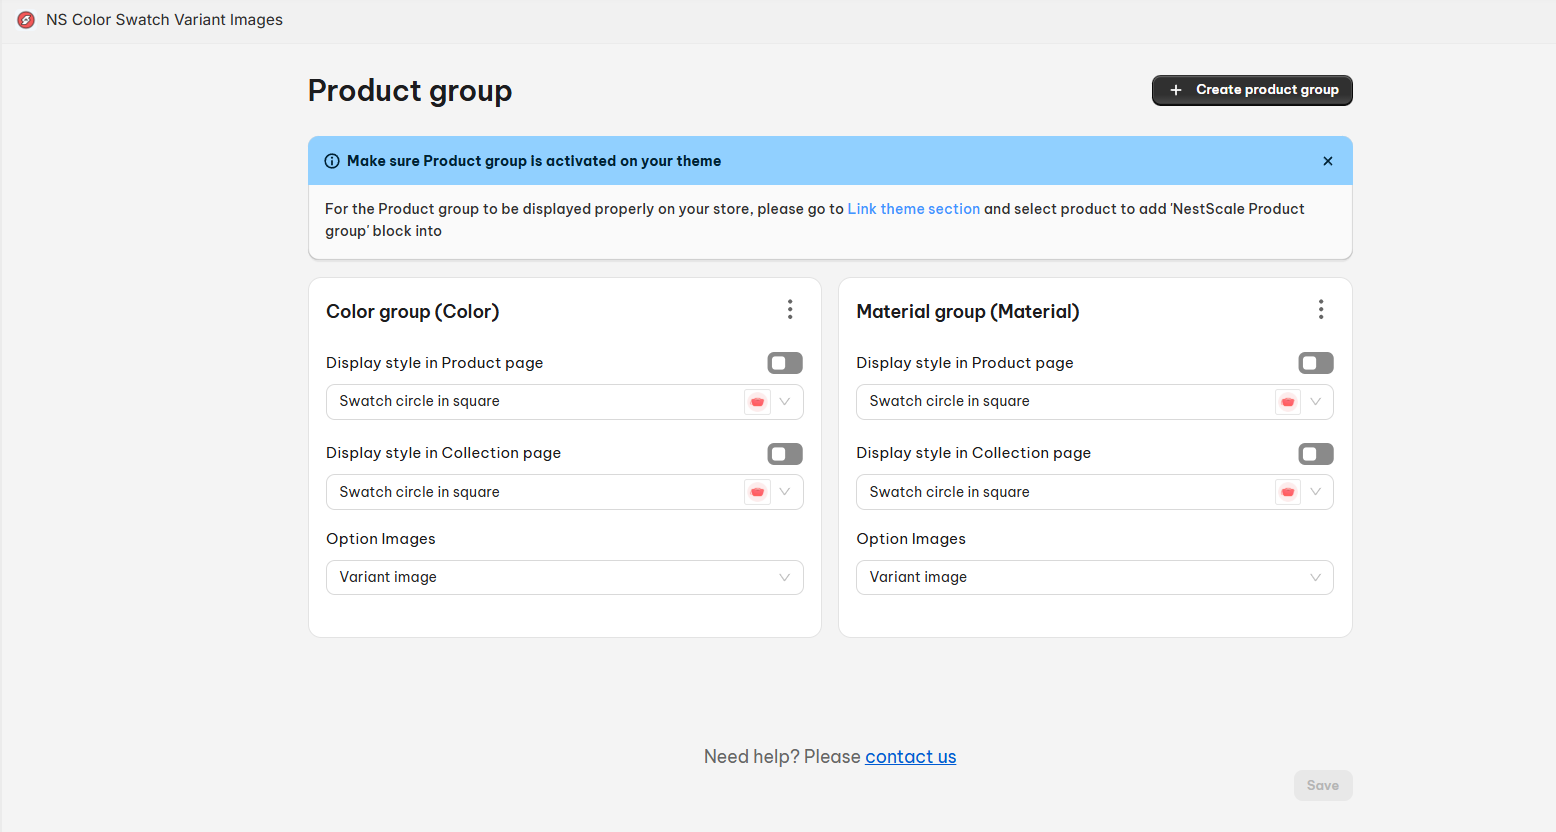
Step 3: Customize Display Style & Option Images
You can choose how product options will appear both on the Product page and the Collection page.
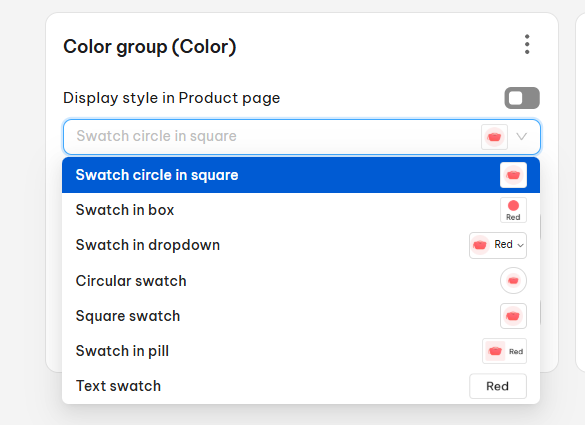
Choose Display Style
Display Style on Product page includes:
- Swatch circle in square
- Swatch in box
- Swatch in dropdown
- Circular swatch
- Square swatch
- Swatch in pill
- Text swatch
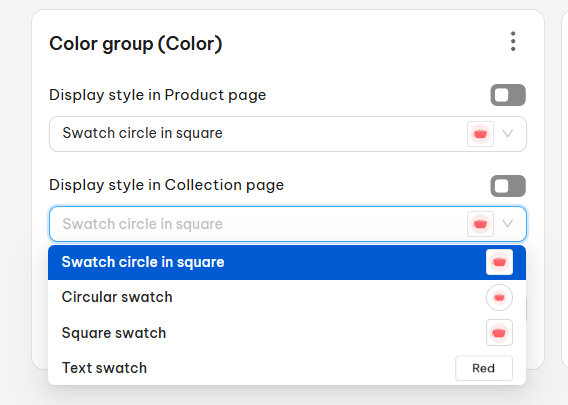
Display Style on Collection page includes:
- Swatch circle in square
- Circular swatch
- Square swatch
- Text swatch
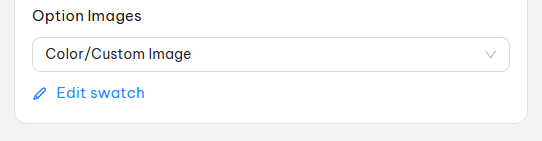
Options Images include:
- Variant image: This option allows you to synchronize your variant image in the Variant section under your product settings.
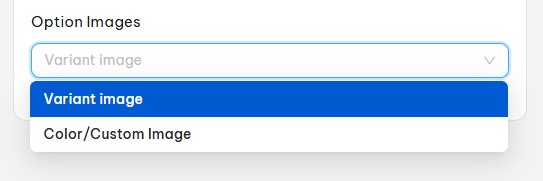
- Color/custom image: you will need to upload image from your desktop’s file
Click Save when done to log the process.
Step 4: Display Product Group on Your Storefront
To ensure the grouped products are visible on your storefront:
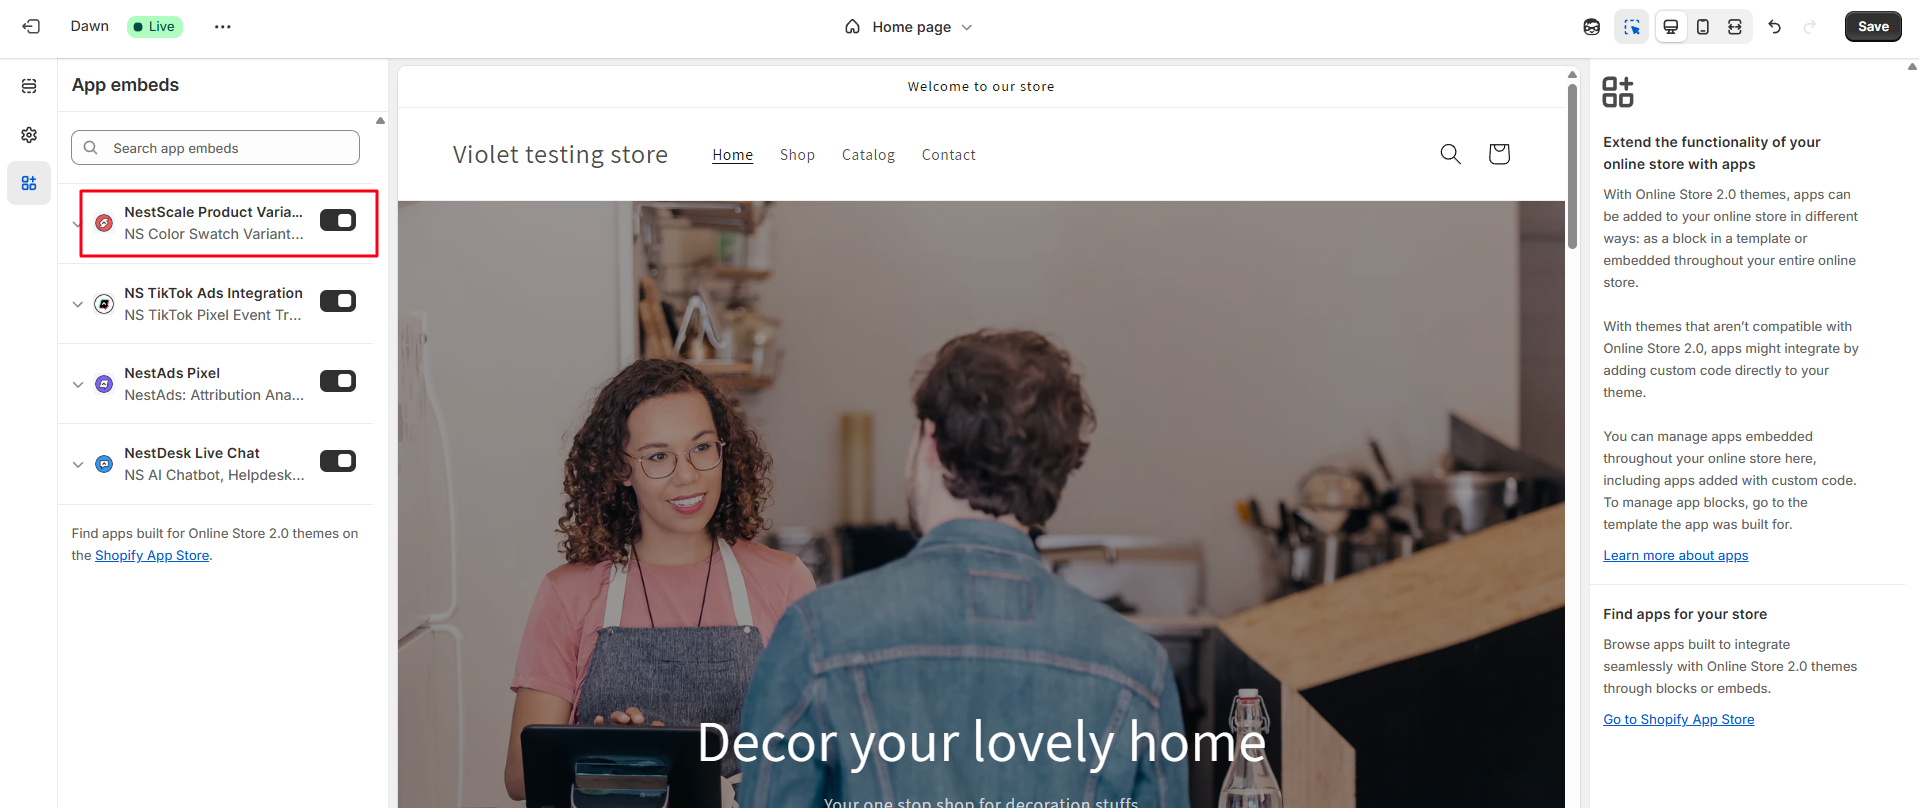
- Go to Online Store > Theme > click Customize button
- In the left sidebar, toggle on NestScale Product Variants app embeds .
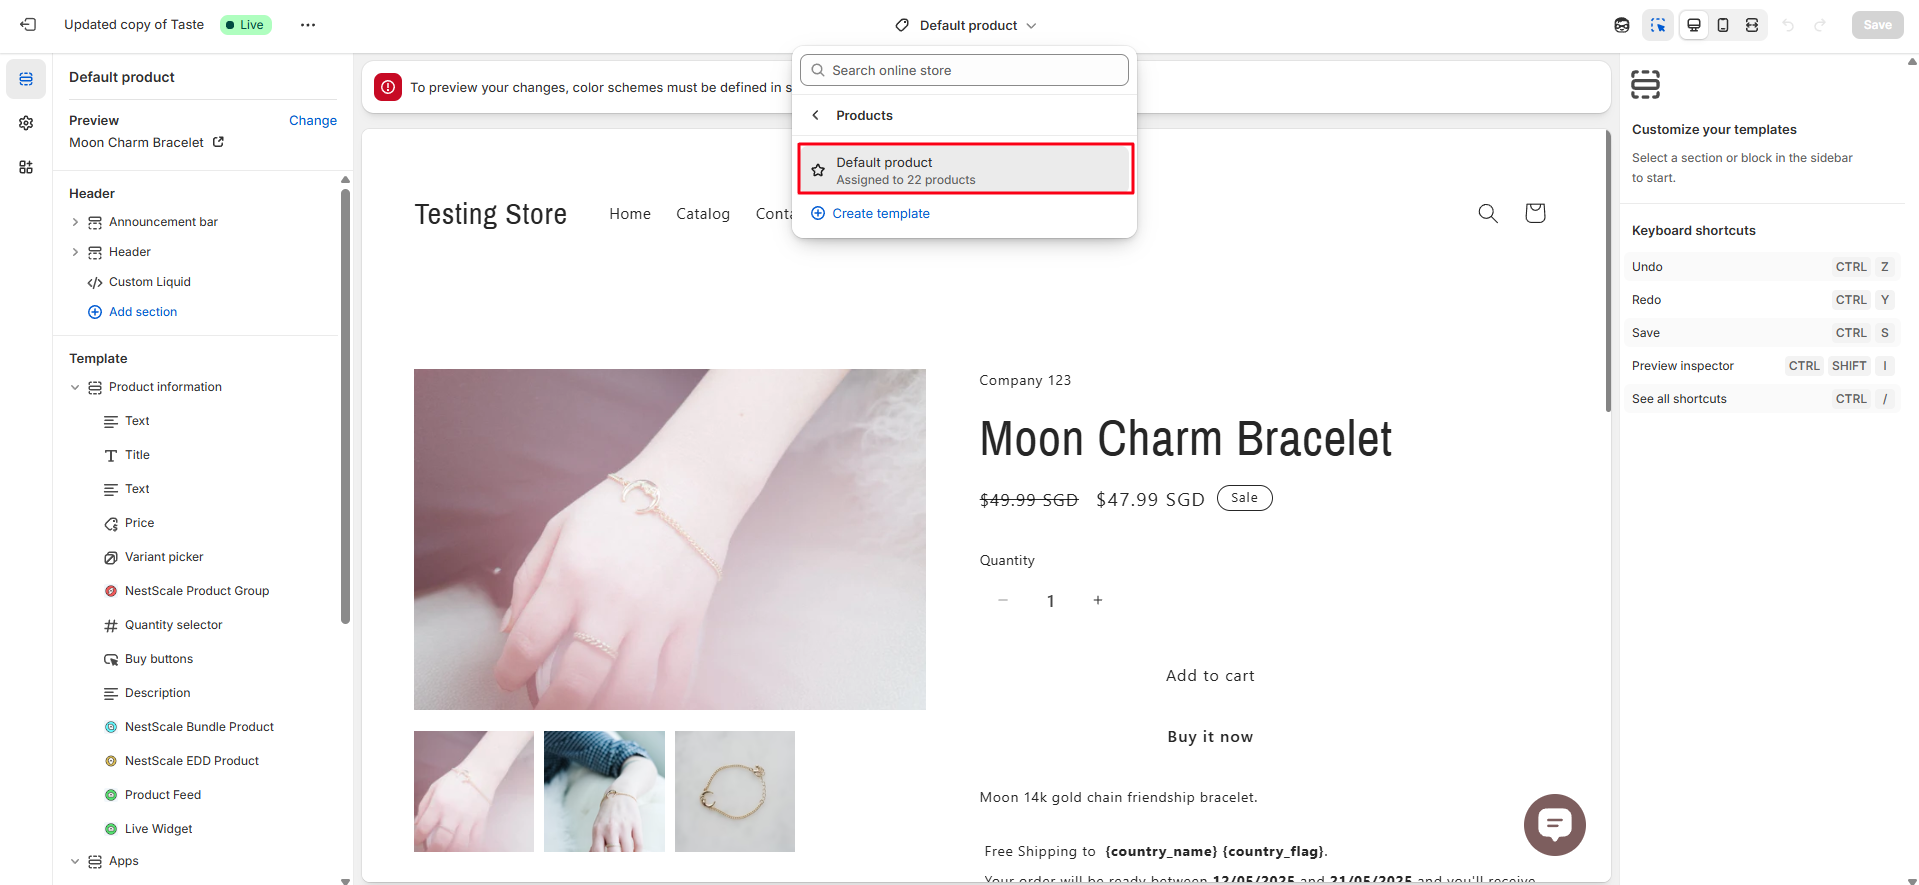
3. Switch to Product view mode and select the Default product template.
4. In the left sidebar, click Add block > select NestScale Product Group > Click Save.
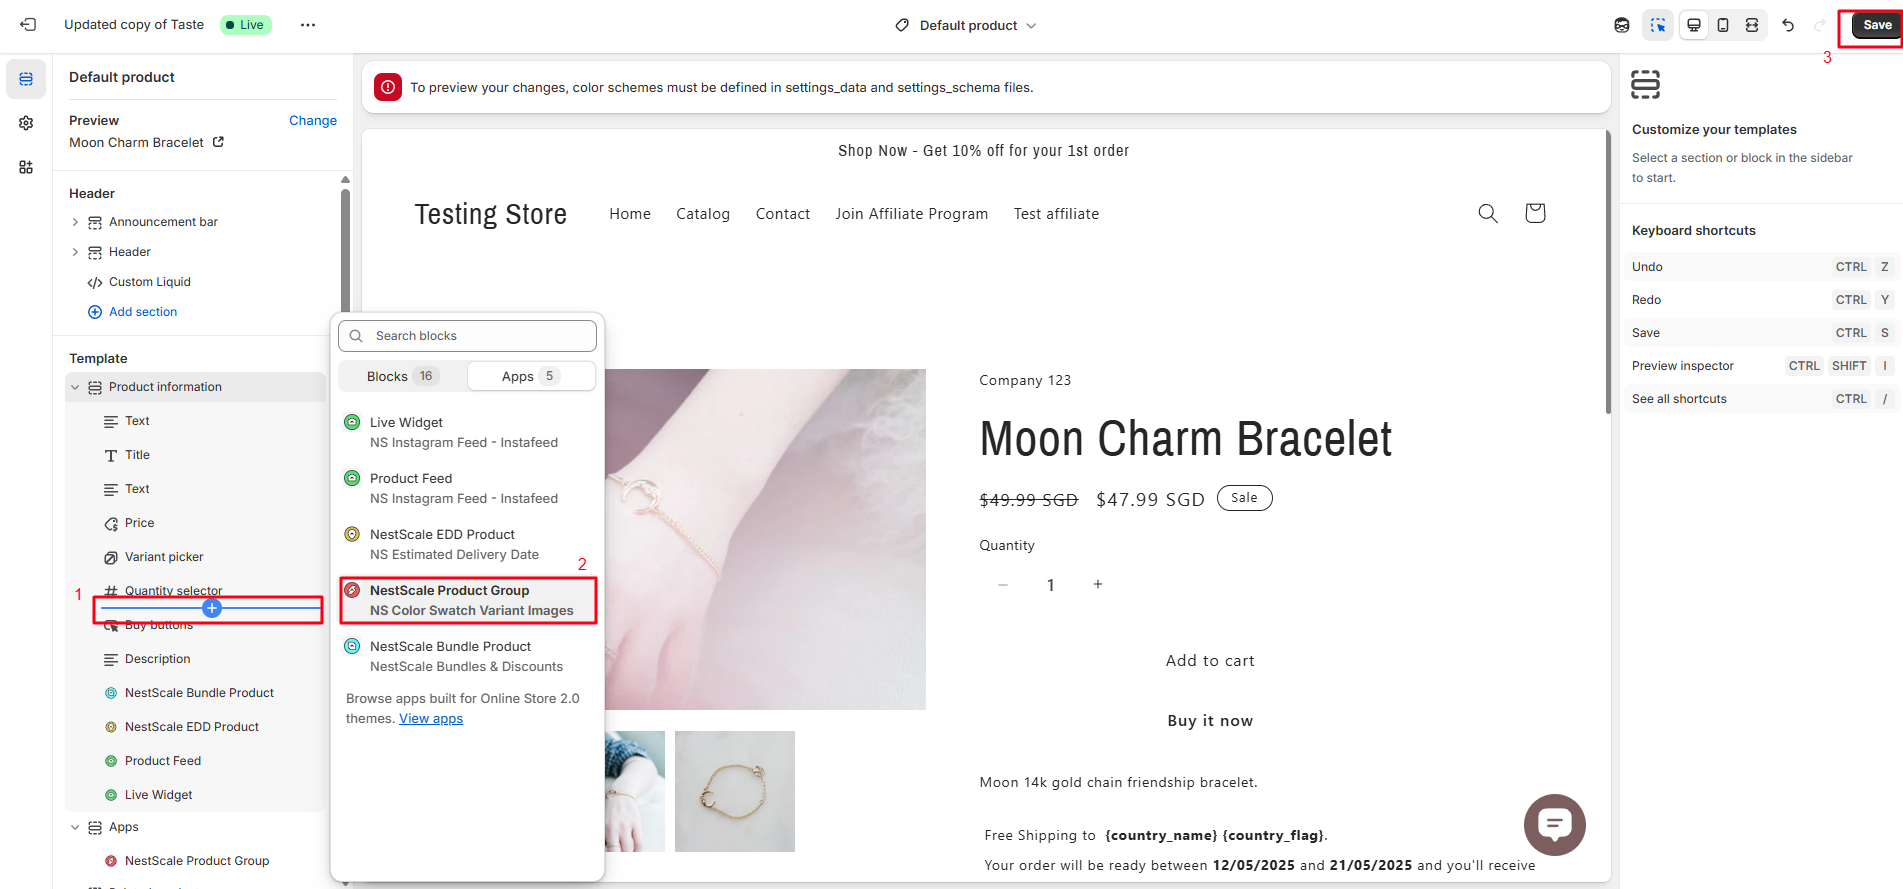
Your grouped products will now display on your product pages as designed!
Need any help?
Please contact our support team via live chat or email at [email protected]. We are happy to help you as soon as possible!