 NestAffiliate
  NestDesk
  NestScale Product Variants
 The NS Estimated Delivery Date allows users to display the EDD widget directly on both the checkout and cart pages, providing customers with clear delivery timelines at every step of their shopping journey.
How to set up EDD Widget on Cart and Checkout Pages
Step 1: Ensure the EDD Block is Added
Before enabling the widget, make sure you’ve added the NS Estimated Delivery Date block to your Product Page.
If you haven’t, refer to our guide on adding the NestScale EDD block.
Step 2: Enable the EDD Widget on Cart & Checkout Pages
- Go to Advanced Settings.
- Click on the status toggle to activate the EDD Widget for both the Cart Page and Checkout Page.
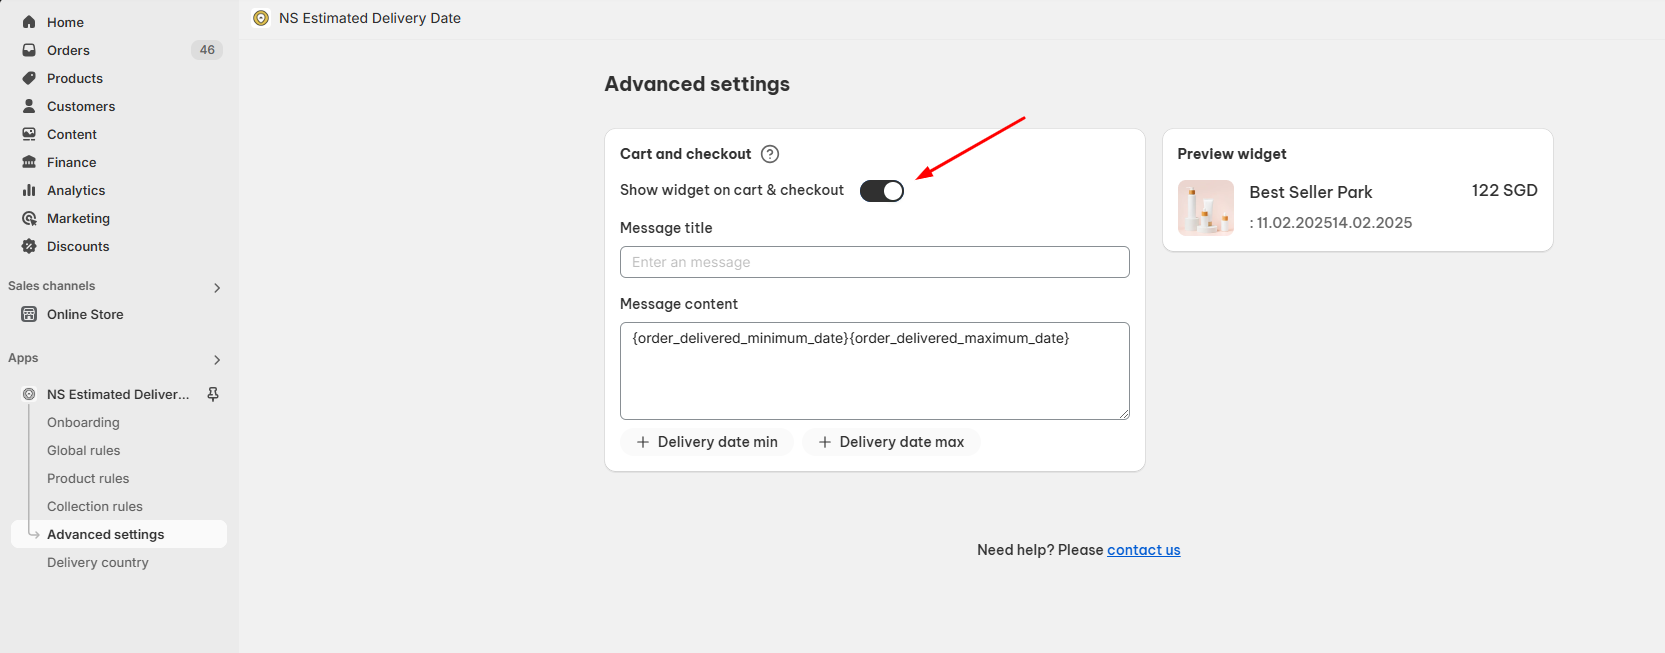
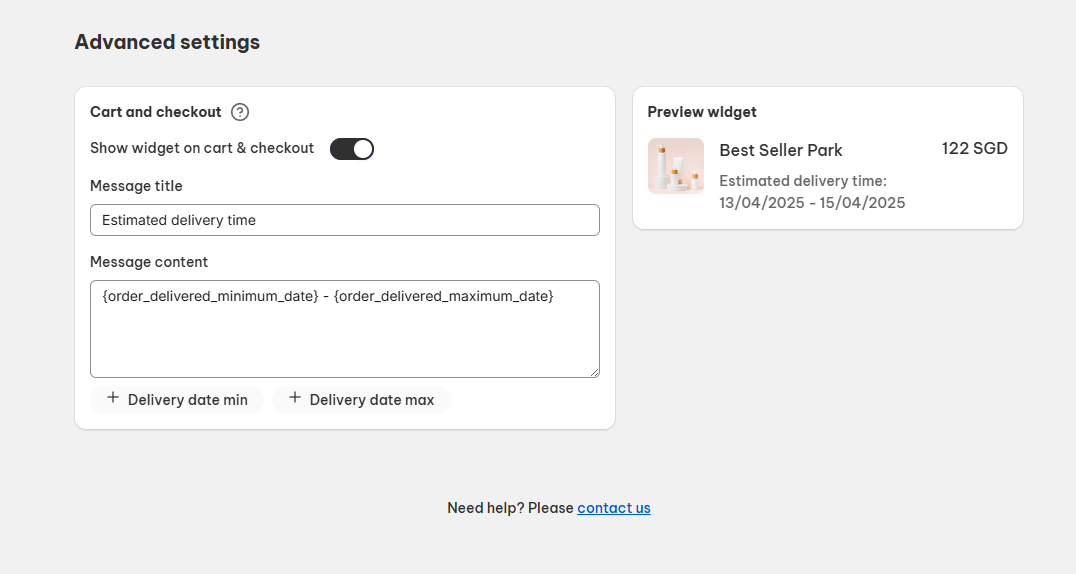
Step 3: Customize the Widget Message
Fill in the following sections:
- Message Title: Define the heading of your delivery estimate message.
- Message Content: Craft a clear delivery message for your customers.
You can use these variables:
- Delivery Date Min – Displays the earliest possible delivery date.
- Delivery Date Max – Displays the latest possible delivery date.
A preview widget will be shown beside the settings for reference.
Step 4: Save Your Settings
Click the Save button to apply your changes.
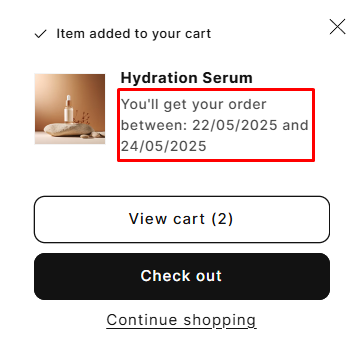
Here is how the EDD Widget displays on the:
- Checkout Page:

- Cart Page:
Need any help?
If you need any assistance with NS Estimated Delivery Date, feel free to contact us via live chat in-app or email [email protected]. Our support team is happy to help