 NestAffiliate
  NestDesk
  NestScale Product Variants
 With NS TikTok Pixel, you can add TikTok Pixels in two ways:
- Automatically (highly recommended for most users)
- Manually (if you prefer to copy and paste Pixel IDs yourself)
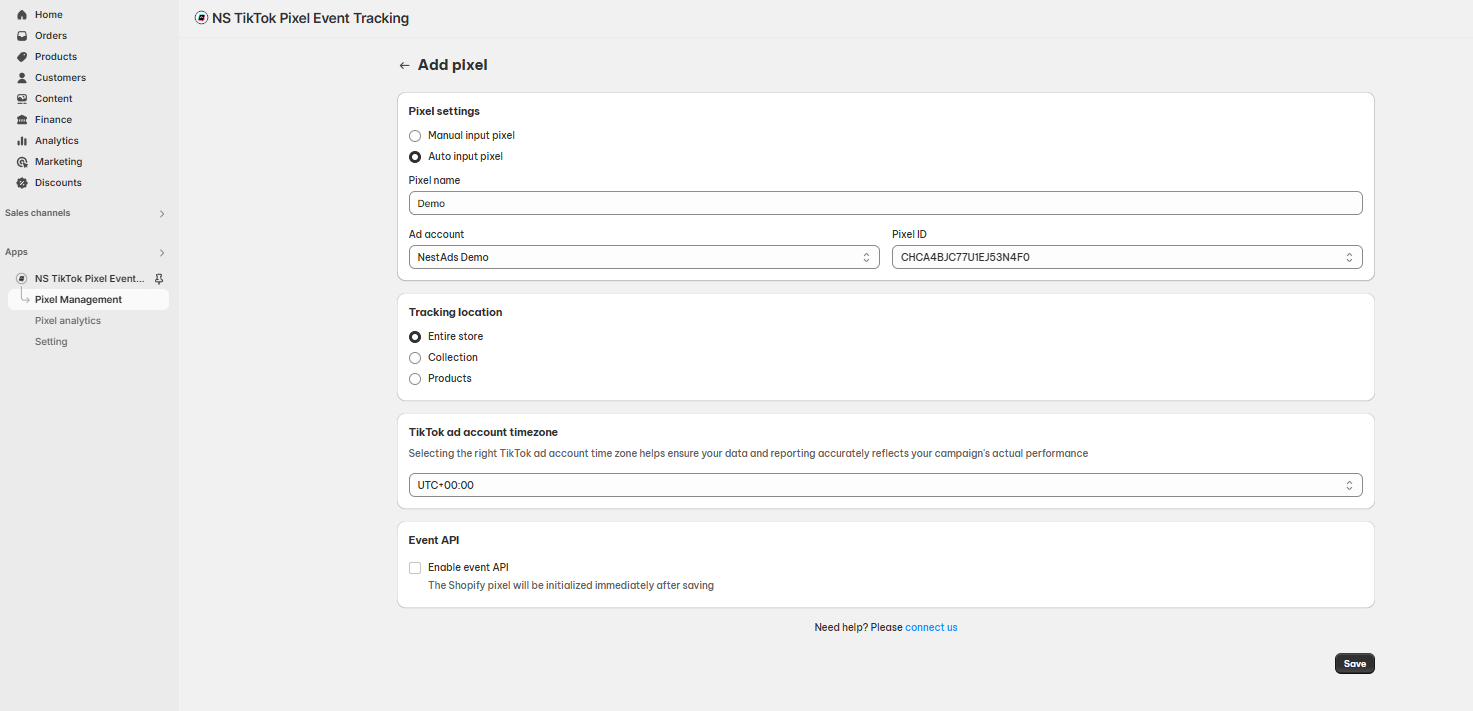
Option 1: Auto-integrate TikTok Pixels (Recommended)
If you’ve connected your TikTok Ad Account already, using the Auto Input method is fast and easy. Auto Input Pixel ensures your TikTok Pixel is linked properly without manual errors — perfect for a hassle-free setup.
Here’s how:
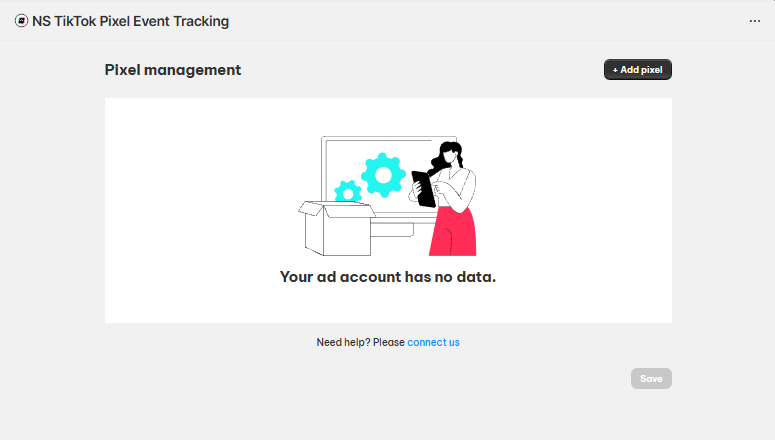
- From your NS TikTok Pixel dashboard, click Pixel Management on the left menu.
- Click the Add Pixel button.
- Choose Auto Input Pixel.
- Select the TikTok Ad Account you connected earlier.
- Choose the Pixel ID you want to add from your account.
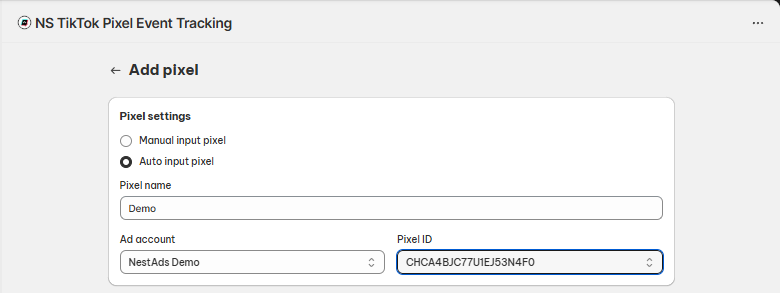
- Click Save.
Option 2: Manually integrate TikTok Pixels
If you haven’t connected your TikTok Ad Account or want to input a Pixel manually, follow these steps:
- Go to Pixel Management > Add Pixel.
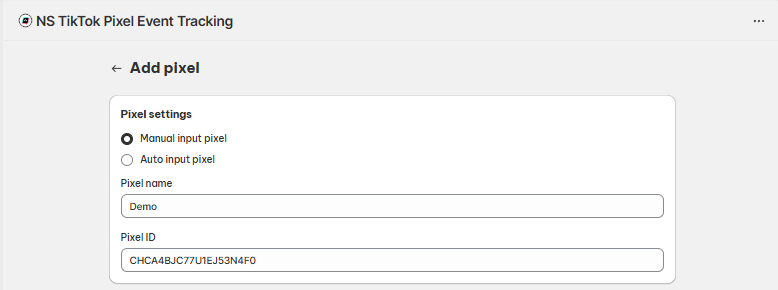
- Select Manual Input Pixel.
- Log in to your TikTok Ads Manager account.
- Navigate to Tools > Events > Data Sources to find your Pixel.
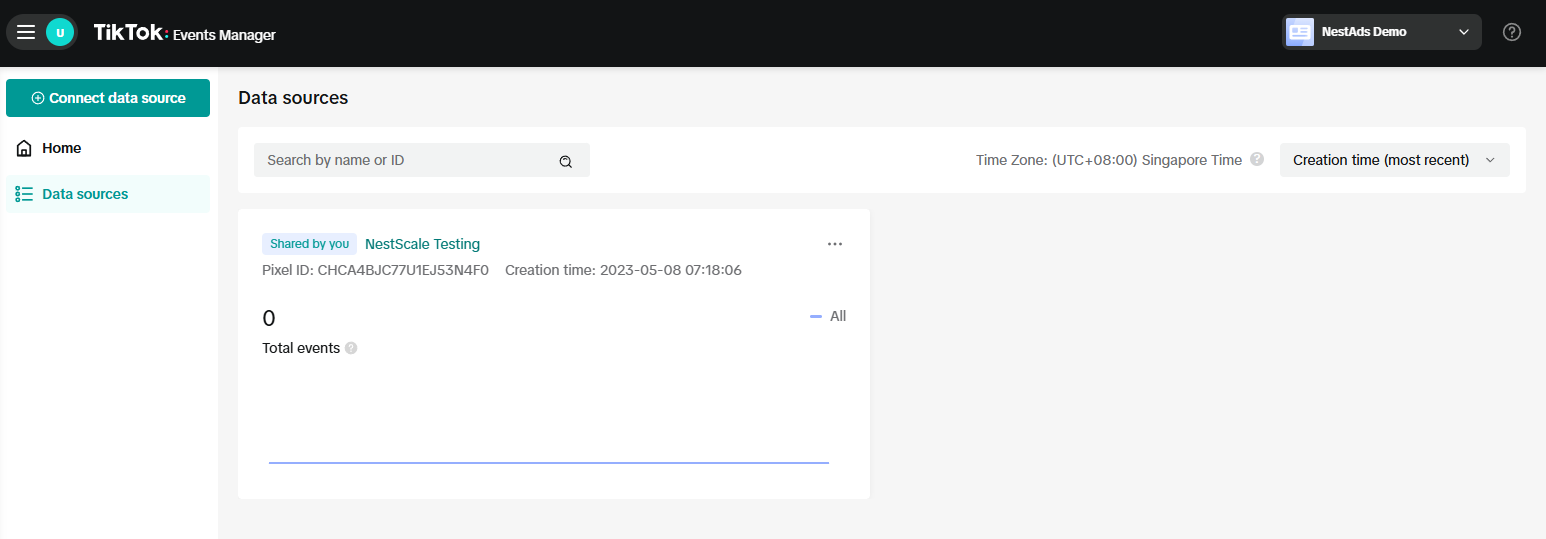
- Copy the Pixel ID.
- Paste it into the NS TikTok Pixel app field and click Save.
Setting Up Your TikTok Pixel for Best Results
After you add your Pixel, it’s important to configure it correctly to ensure your tracking is accurate and aligned with your marketing goals.
1. Name Your Pixel Clearly
Give each Pixel a clear, recognizable name, especially if you manage multiple Pixels.
E.g. “Main Store Pixel” or “Spring Sale Pixel.”
You can rename your Pixel anytime in Pixel Management by clicking Edit.
2. Choose Where to Track (Tracking Location)
You have full control over where the TikTok Pixel tracks activity:
| Option | Meaning |
| Entire Store | Track across all pages and products. |
| Specific Collections | Track only within selected product collections (up to 5). |
| Specific Products | Track only specific products (up to 5). |
How to set it:
- In Pixel Management, click Edit next to your Pixel.
- Select your preferred Tracking Location.
- If you choose Collections or Products, select them from the list provided.
Tip: Tracking the entire store is ideal for general campaigns, while specific tracking is better for niche product ads.
3. Set the Correct Time zone
By default, your Pixel will use the time zone from your TikTok Ad Account.
You can adjust this manually if needed to match your store’s time zone or ad reporting needs.
Tip: Keep your Shopify, TikTok, and Pixel time zones consistent to help avoid data mismatches!
4. Enable Event API for Better Tracking (Highly Recommended)
Turning on Event API allows server-side event tracking — meaning even if customers have ad blockers or privacy settings, their actions are still captured.
How to Enable:
- When adding or editing a Pixel, turn on the Event API toggle switch.
- Paste the token after follow steps below:
- Click on the pixel in TikTok Ads Manager
- Choose Settings tab
- Under Events API section, click Generate Access Token, then copy the token
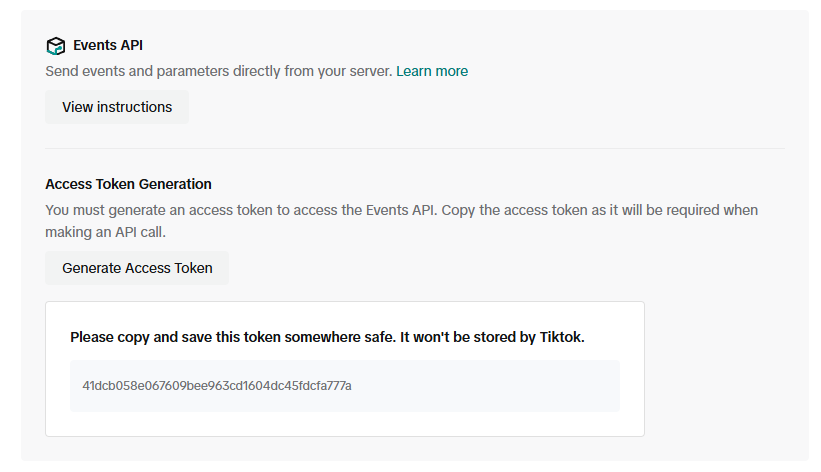
- After saving, NS TikTok Pixel will automatically set up additional server-side tracking behind the scenes.
Why use Event API?
- More reliable data
- Higher event match rates
- Stronger ad optimization on TikTok
5. Test Your Pixel Events (Optional but Smart)
Before running campaigns, it’s a good idea to test if your Pixel is firing properly.
Steps to Test:
- In Pixel Management, find your Pixel and go to the Test Event section.
- Paste a TikTok Test Event code (if available) or perform live test actions (view, add to cart, checkout)
- Wait a few minutes and check TikTok Events Manager to confirm events are received.
Reminder: After testing, clear or separate test data to keep your live campaign reports accurate.
Need any help?
Please contact our support team via live chat or email at [email protected]. We are happy to help you as soon as possible!